Nobilis Care
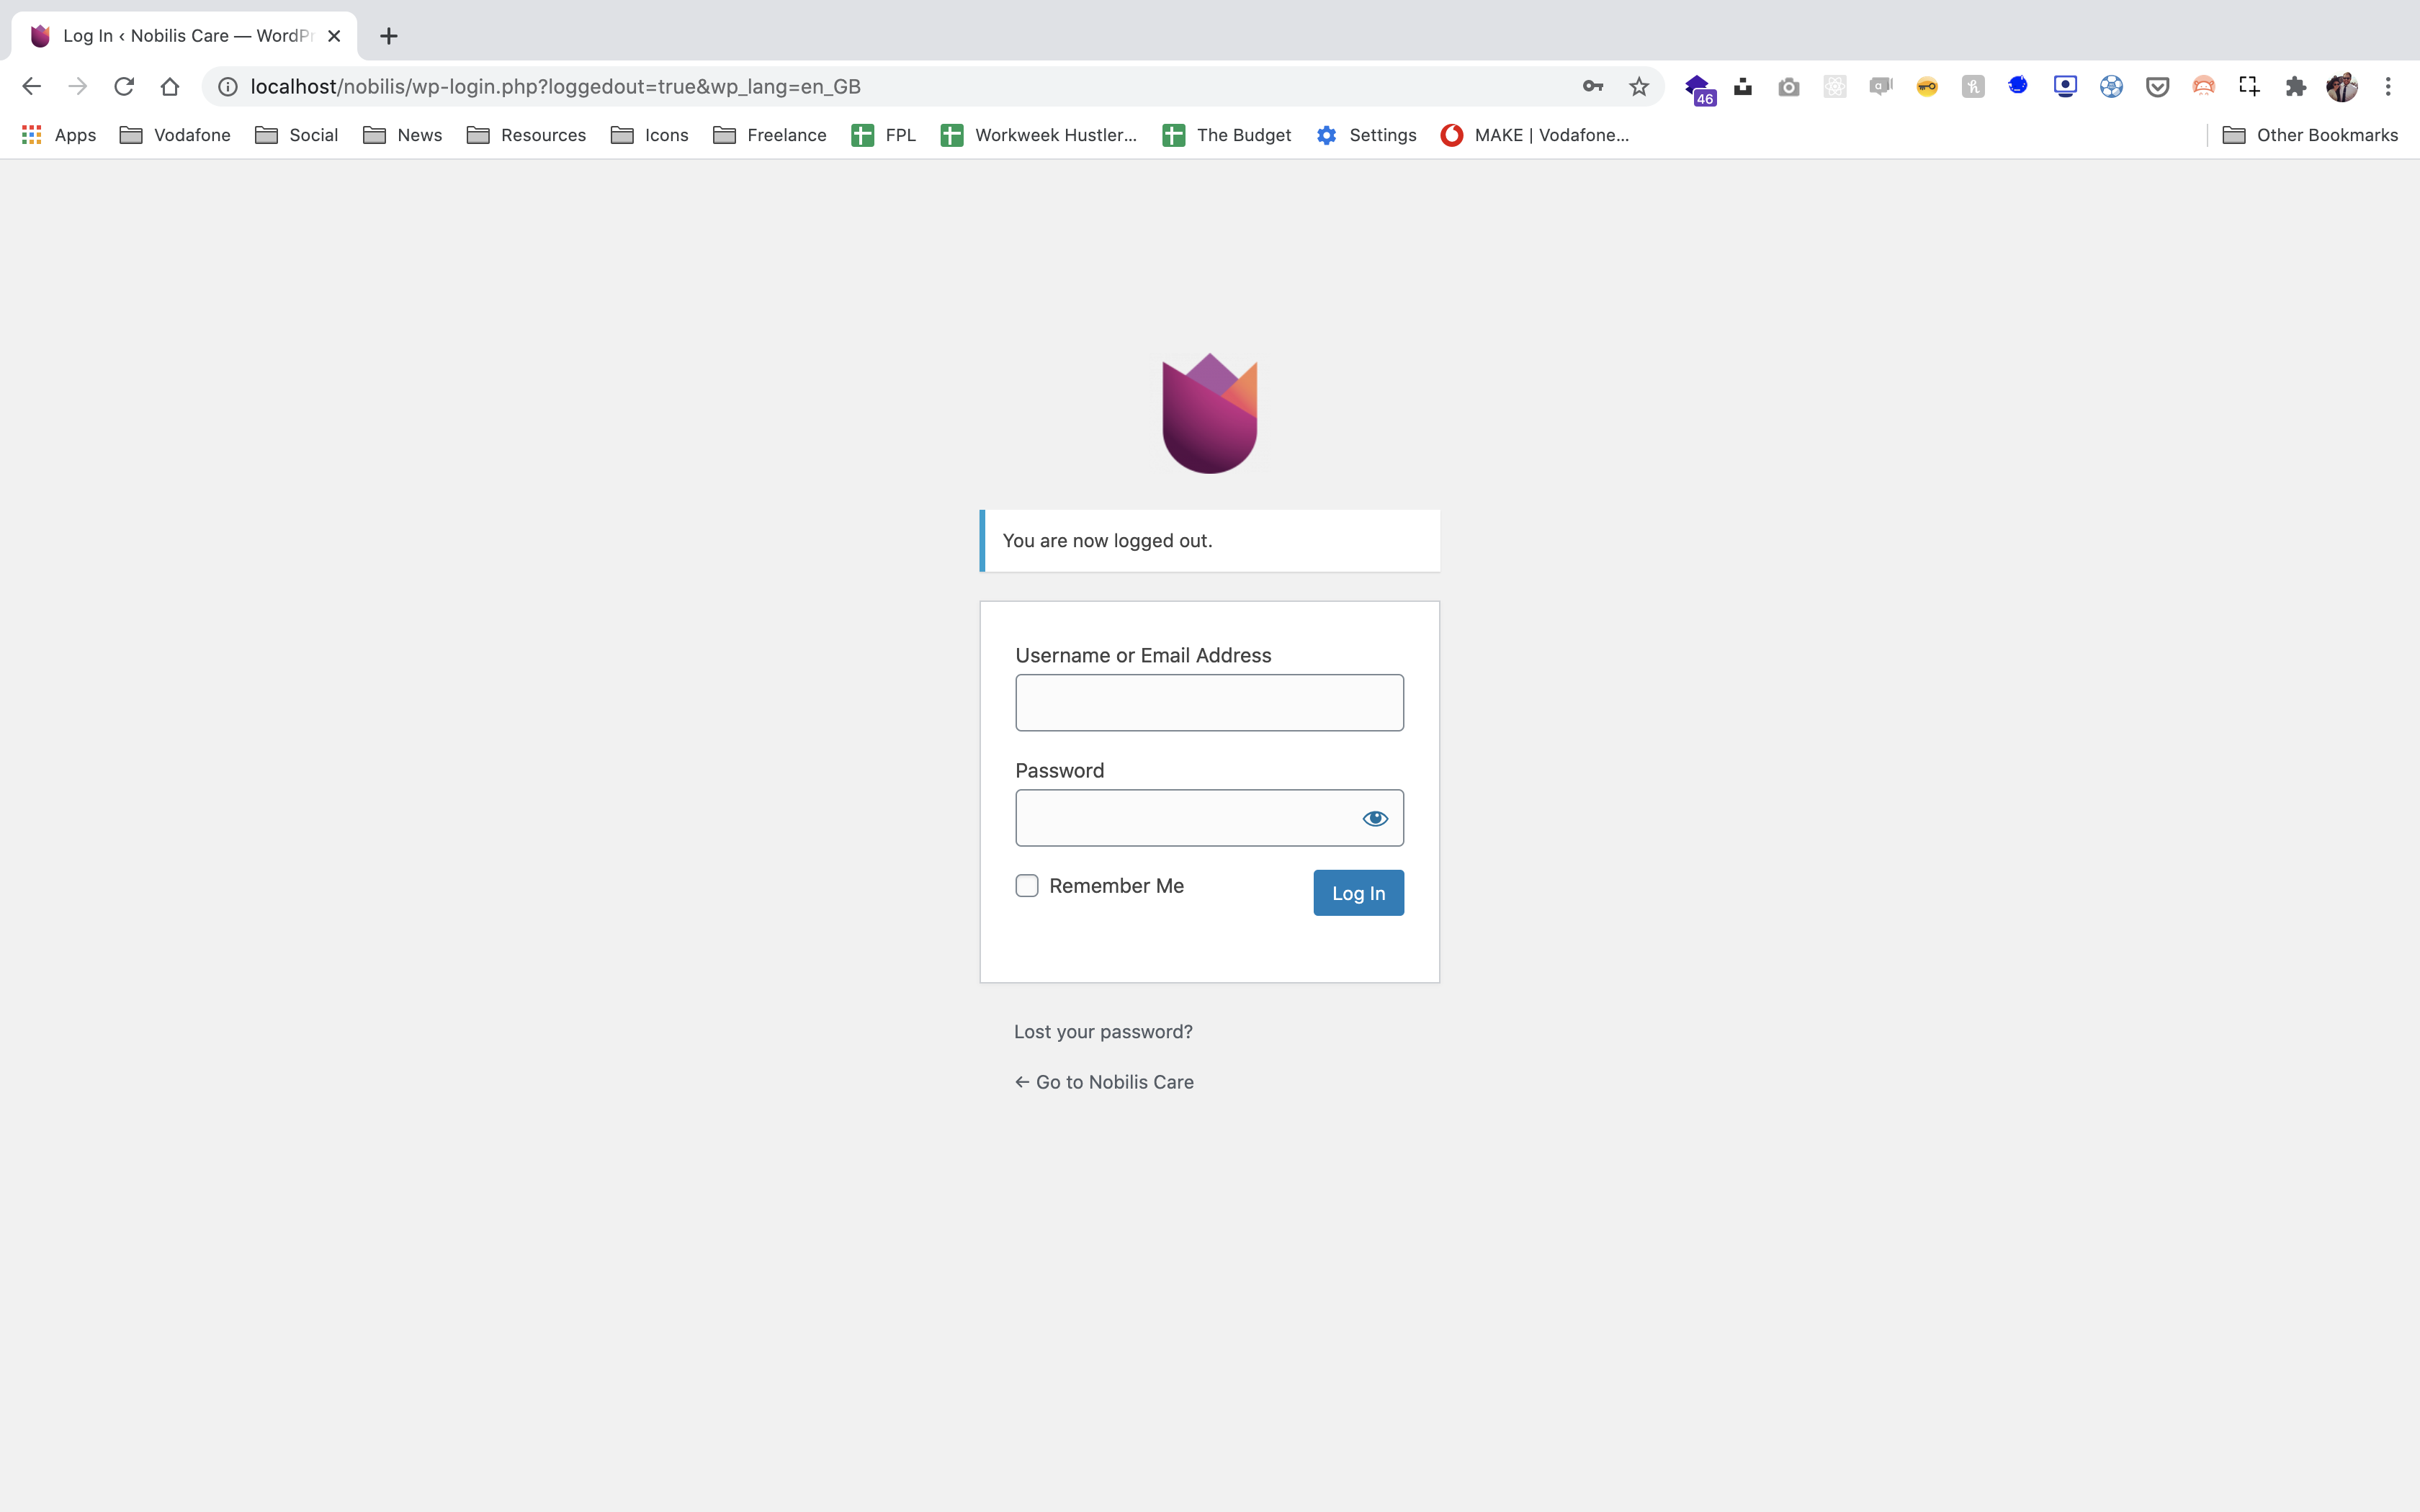
Login to the back end of your website by visiting nobilis.co.uk/wp-admin.
You will then be presented with the login screen, where you can enter your supplied username & password to log in.
The dashboard is where you can make any changes to your website. After logging in, you’ll be presented with a screen similar to this:
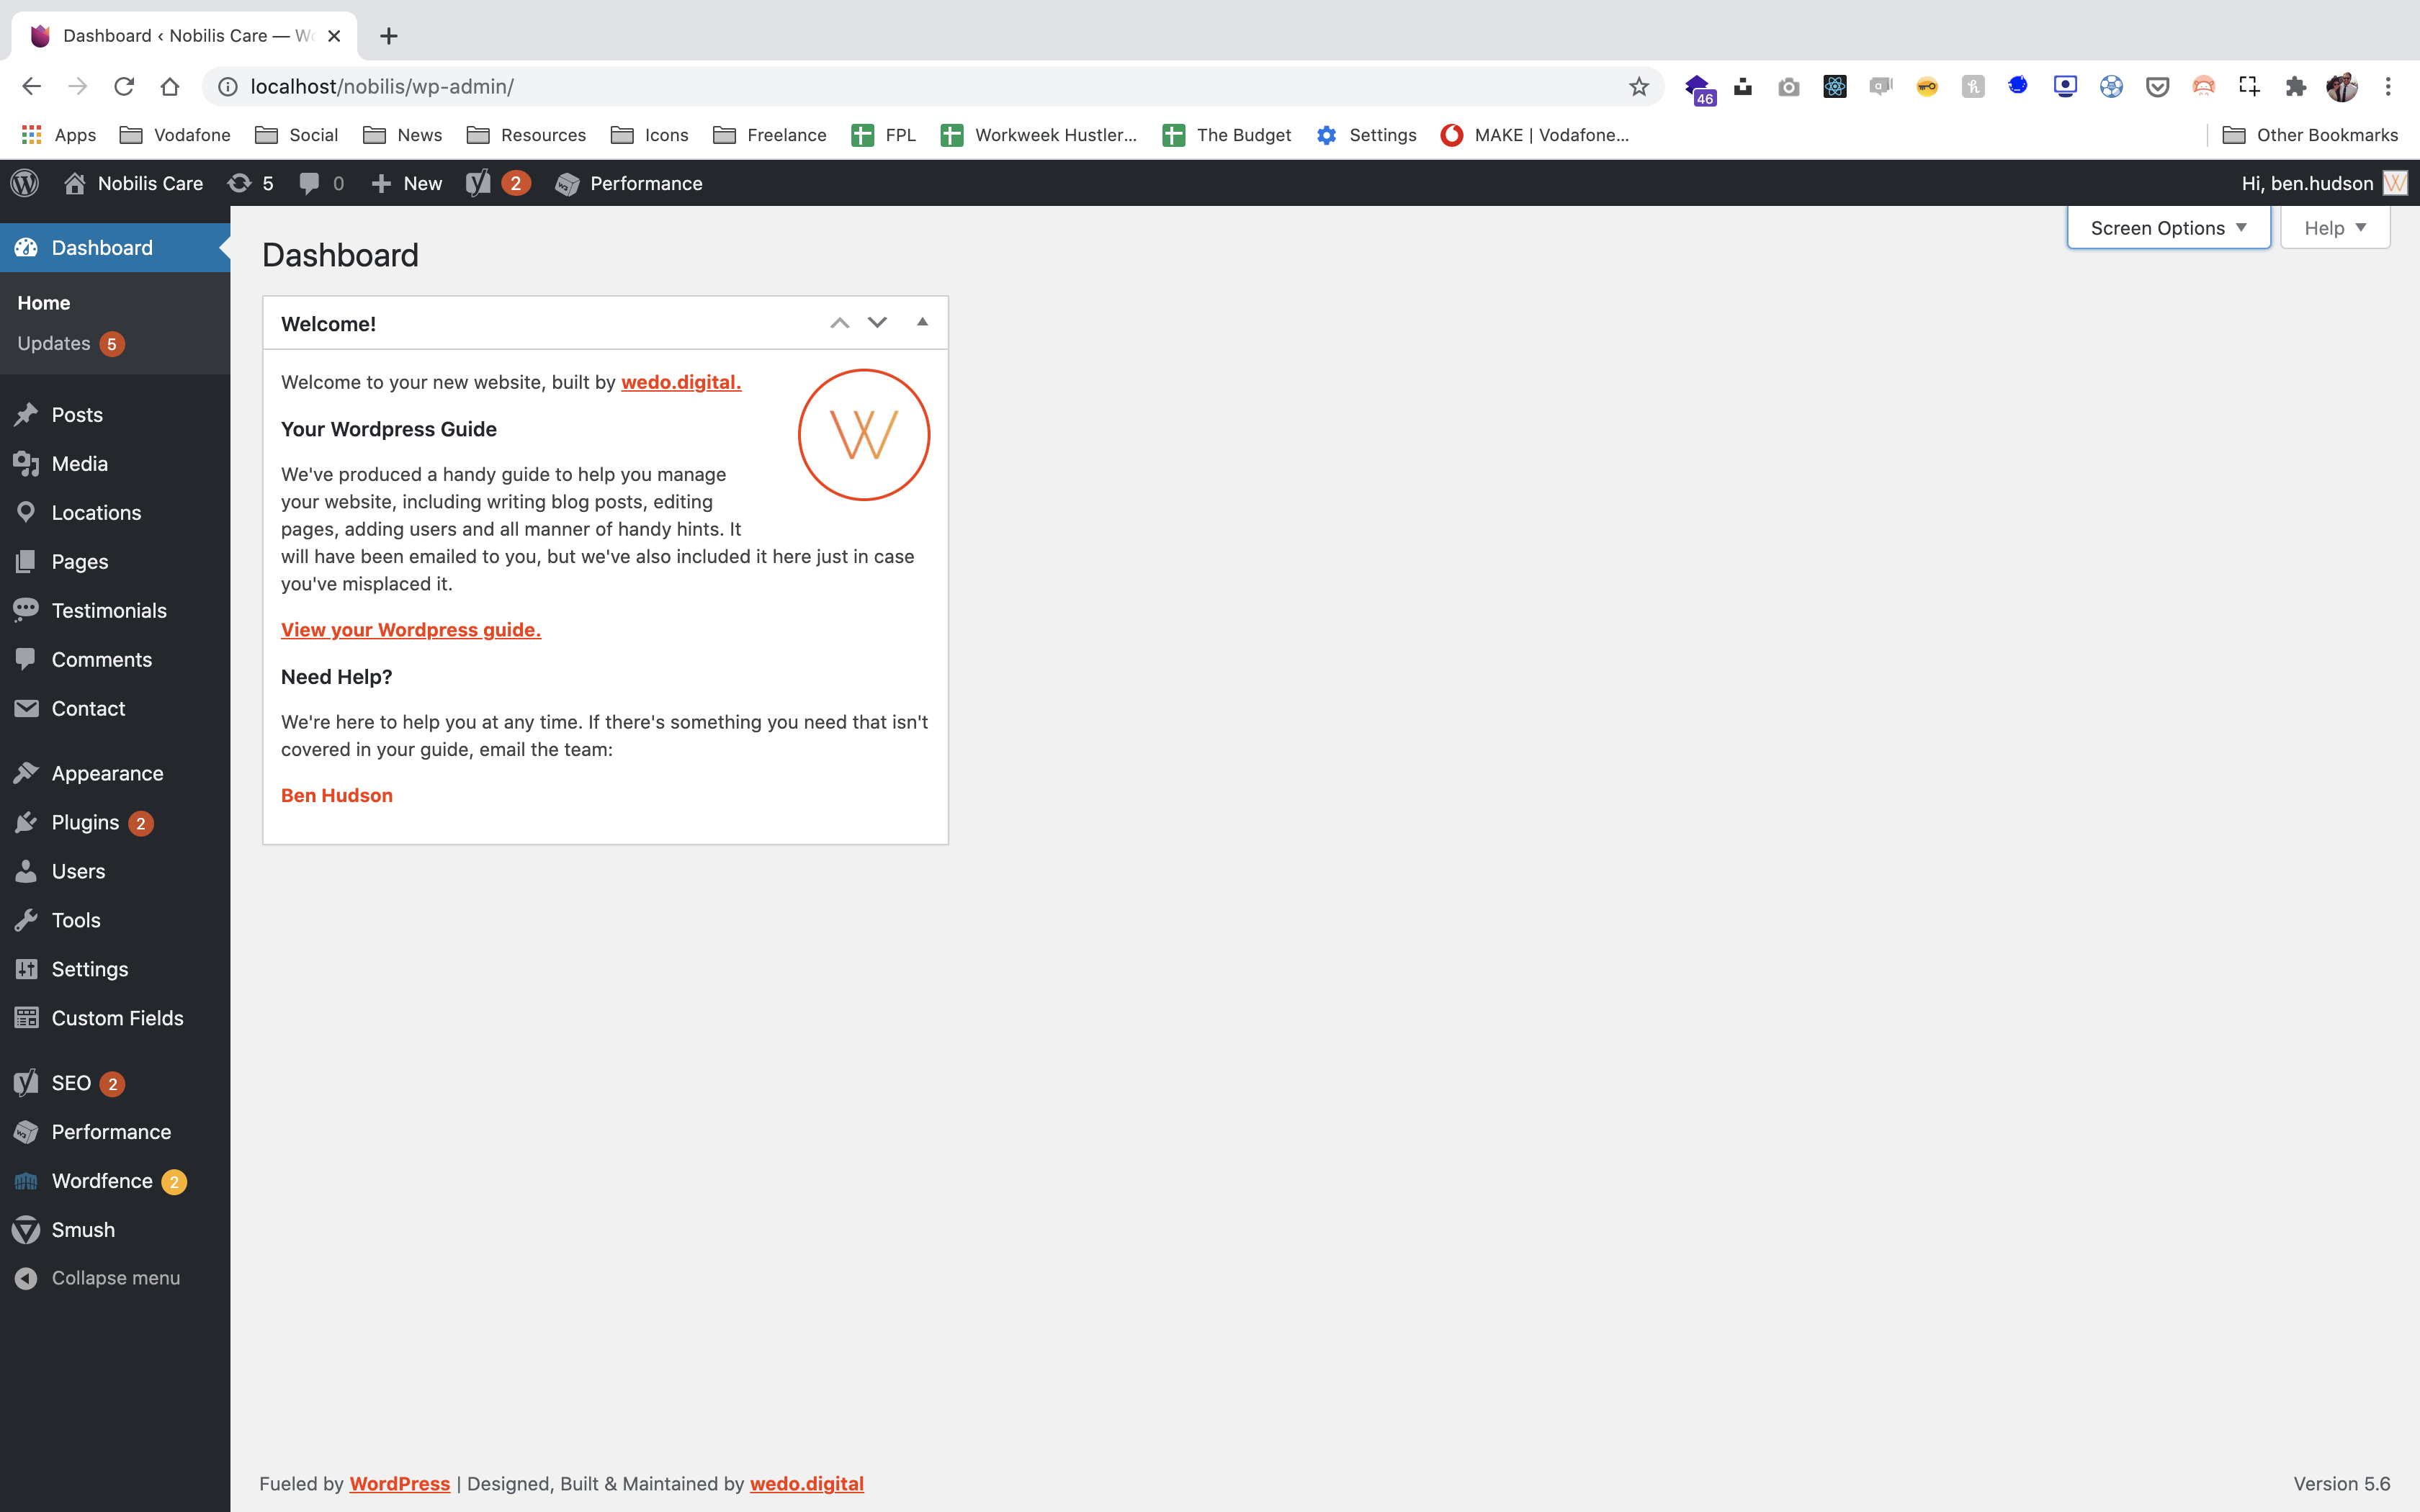
From here, everything you will need to edit will be accessible from the sidebar on the left-hand side.
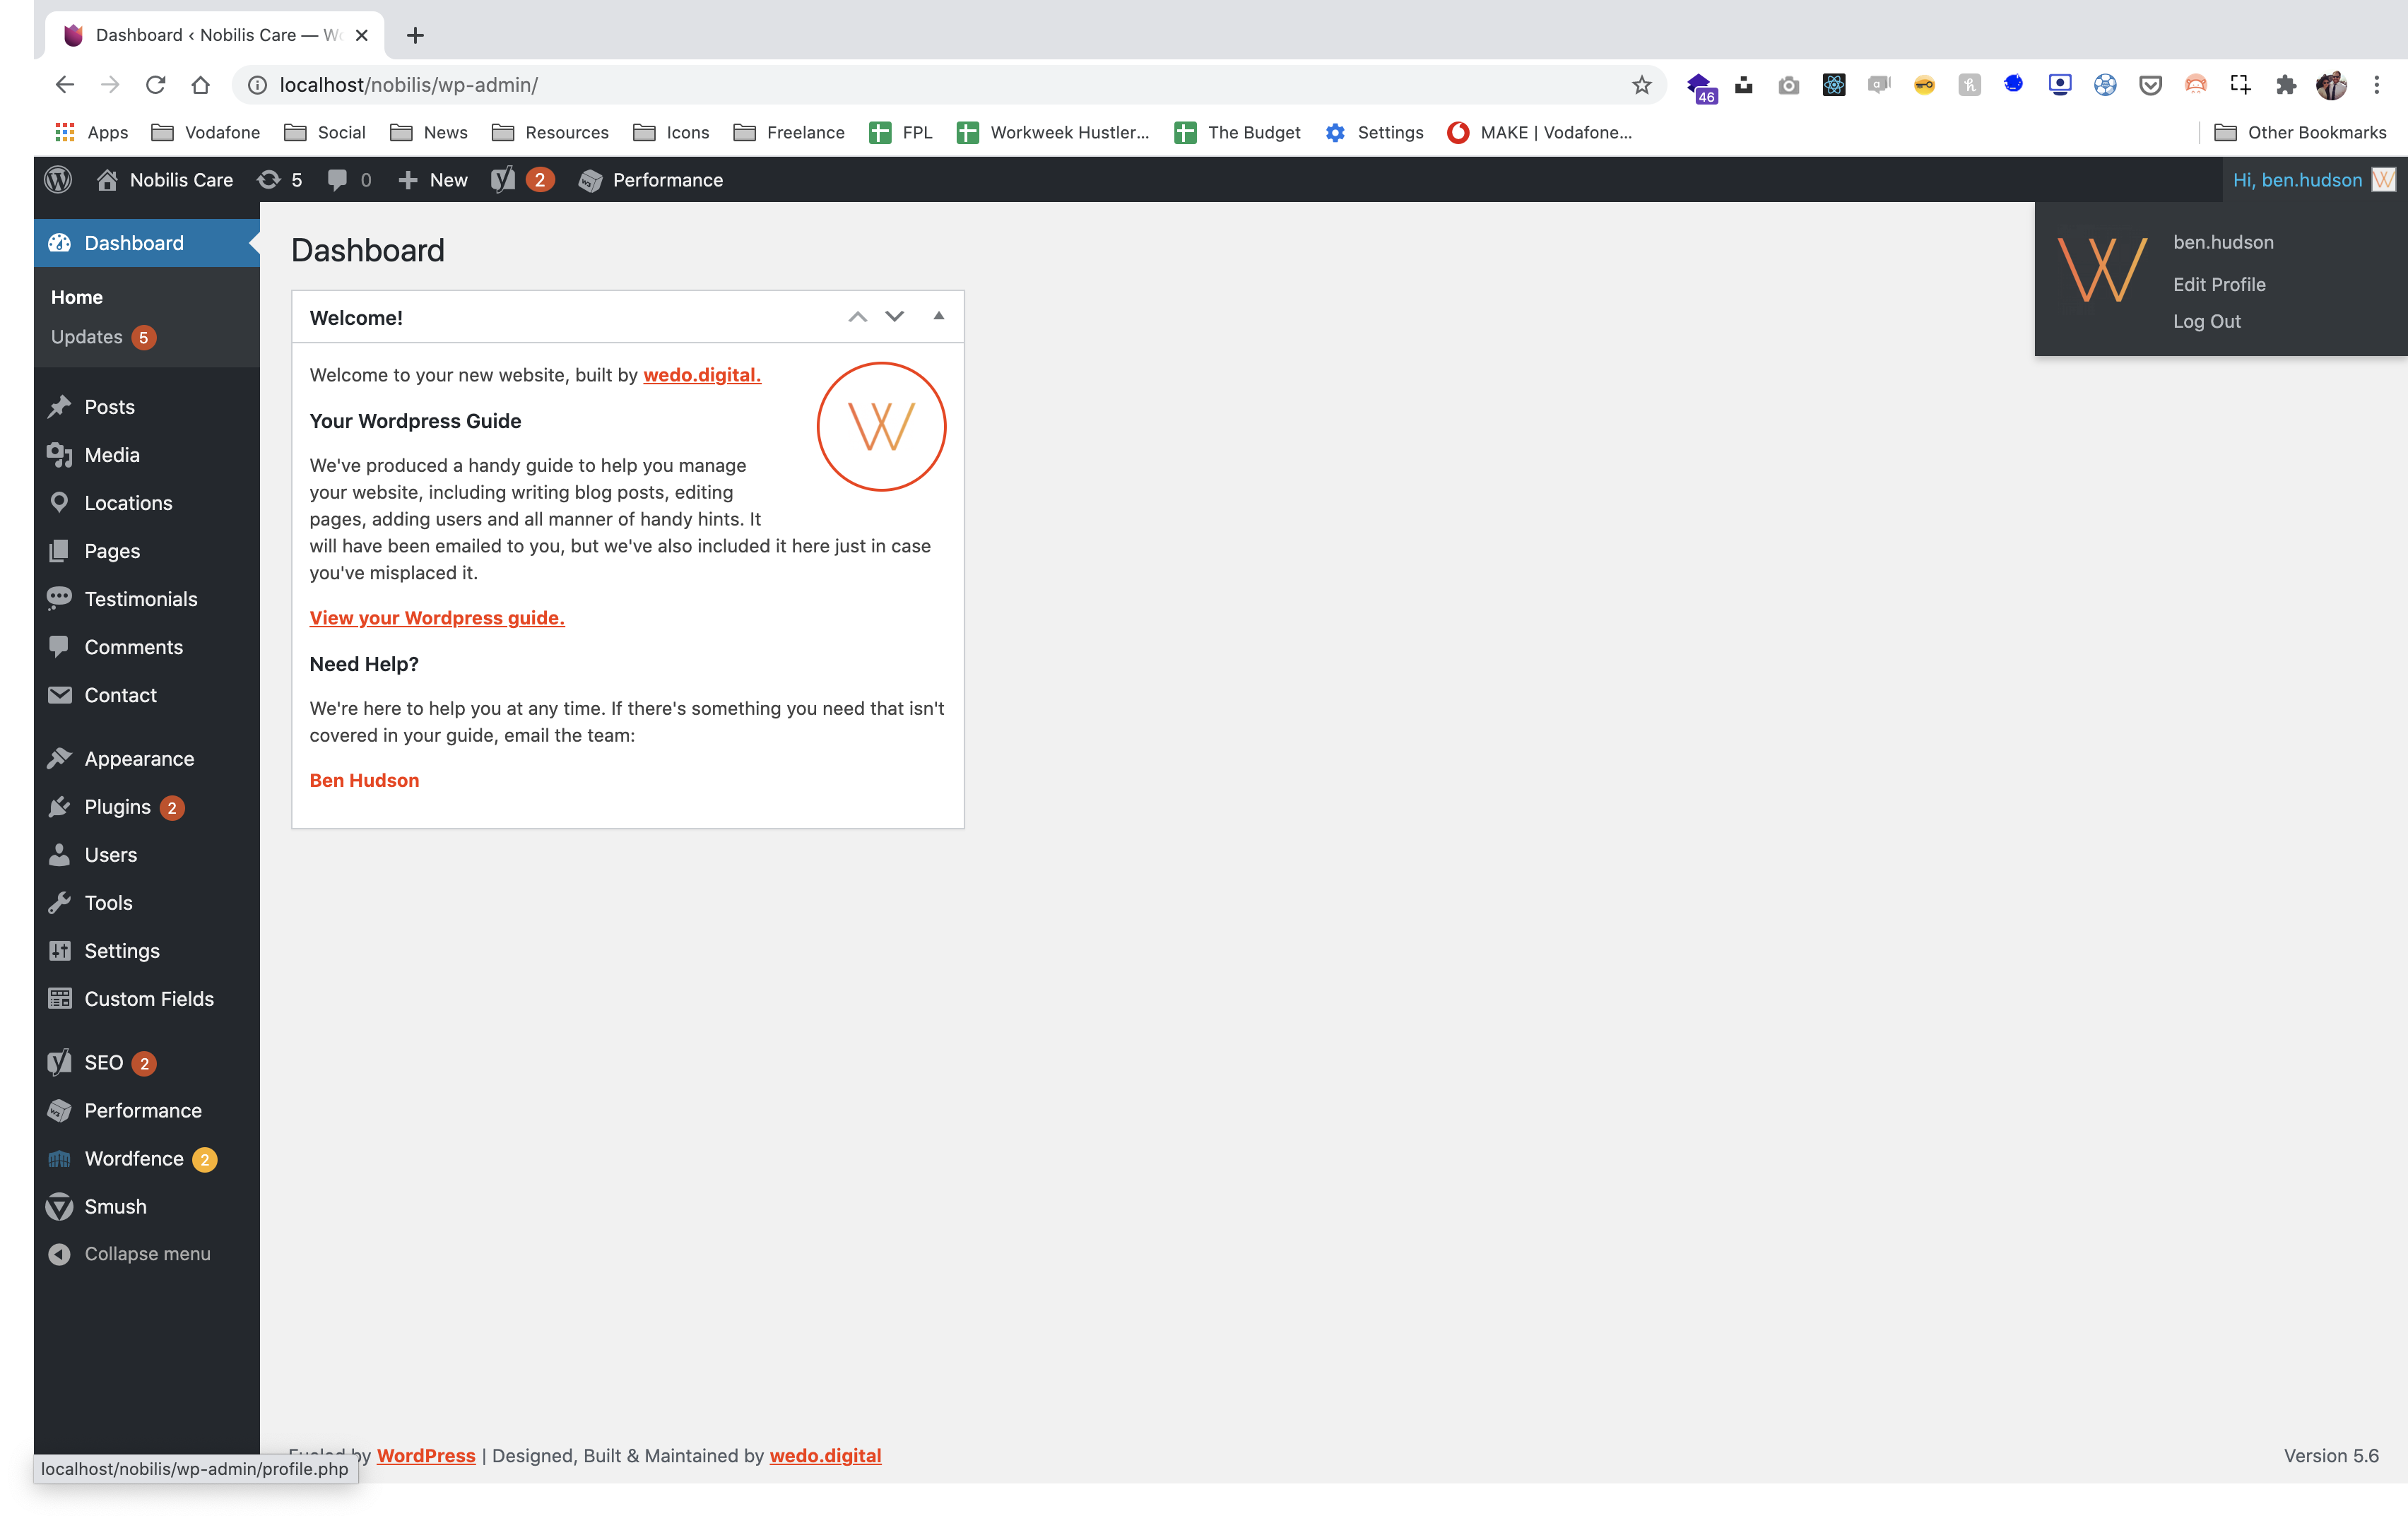
Once you have made any changes through the WordPress Dashboard you will need to logout of your account. To do this, place your mouse cursor over the ‘Welcome text’ button in the top right hand corner of your screen.
A list of links will appear, click on ‘Logout’ to sign out of your account.
In some instances you may need to add a new user to your website, e.g. to allow multiple people to edit the website at the same time. Scroll down on any page and select ‘Users’ from the WordPress sidebar.
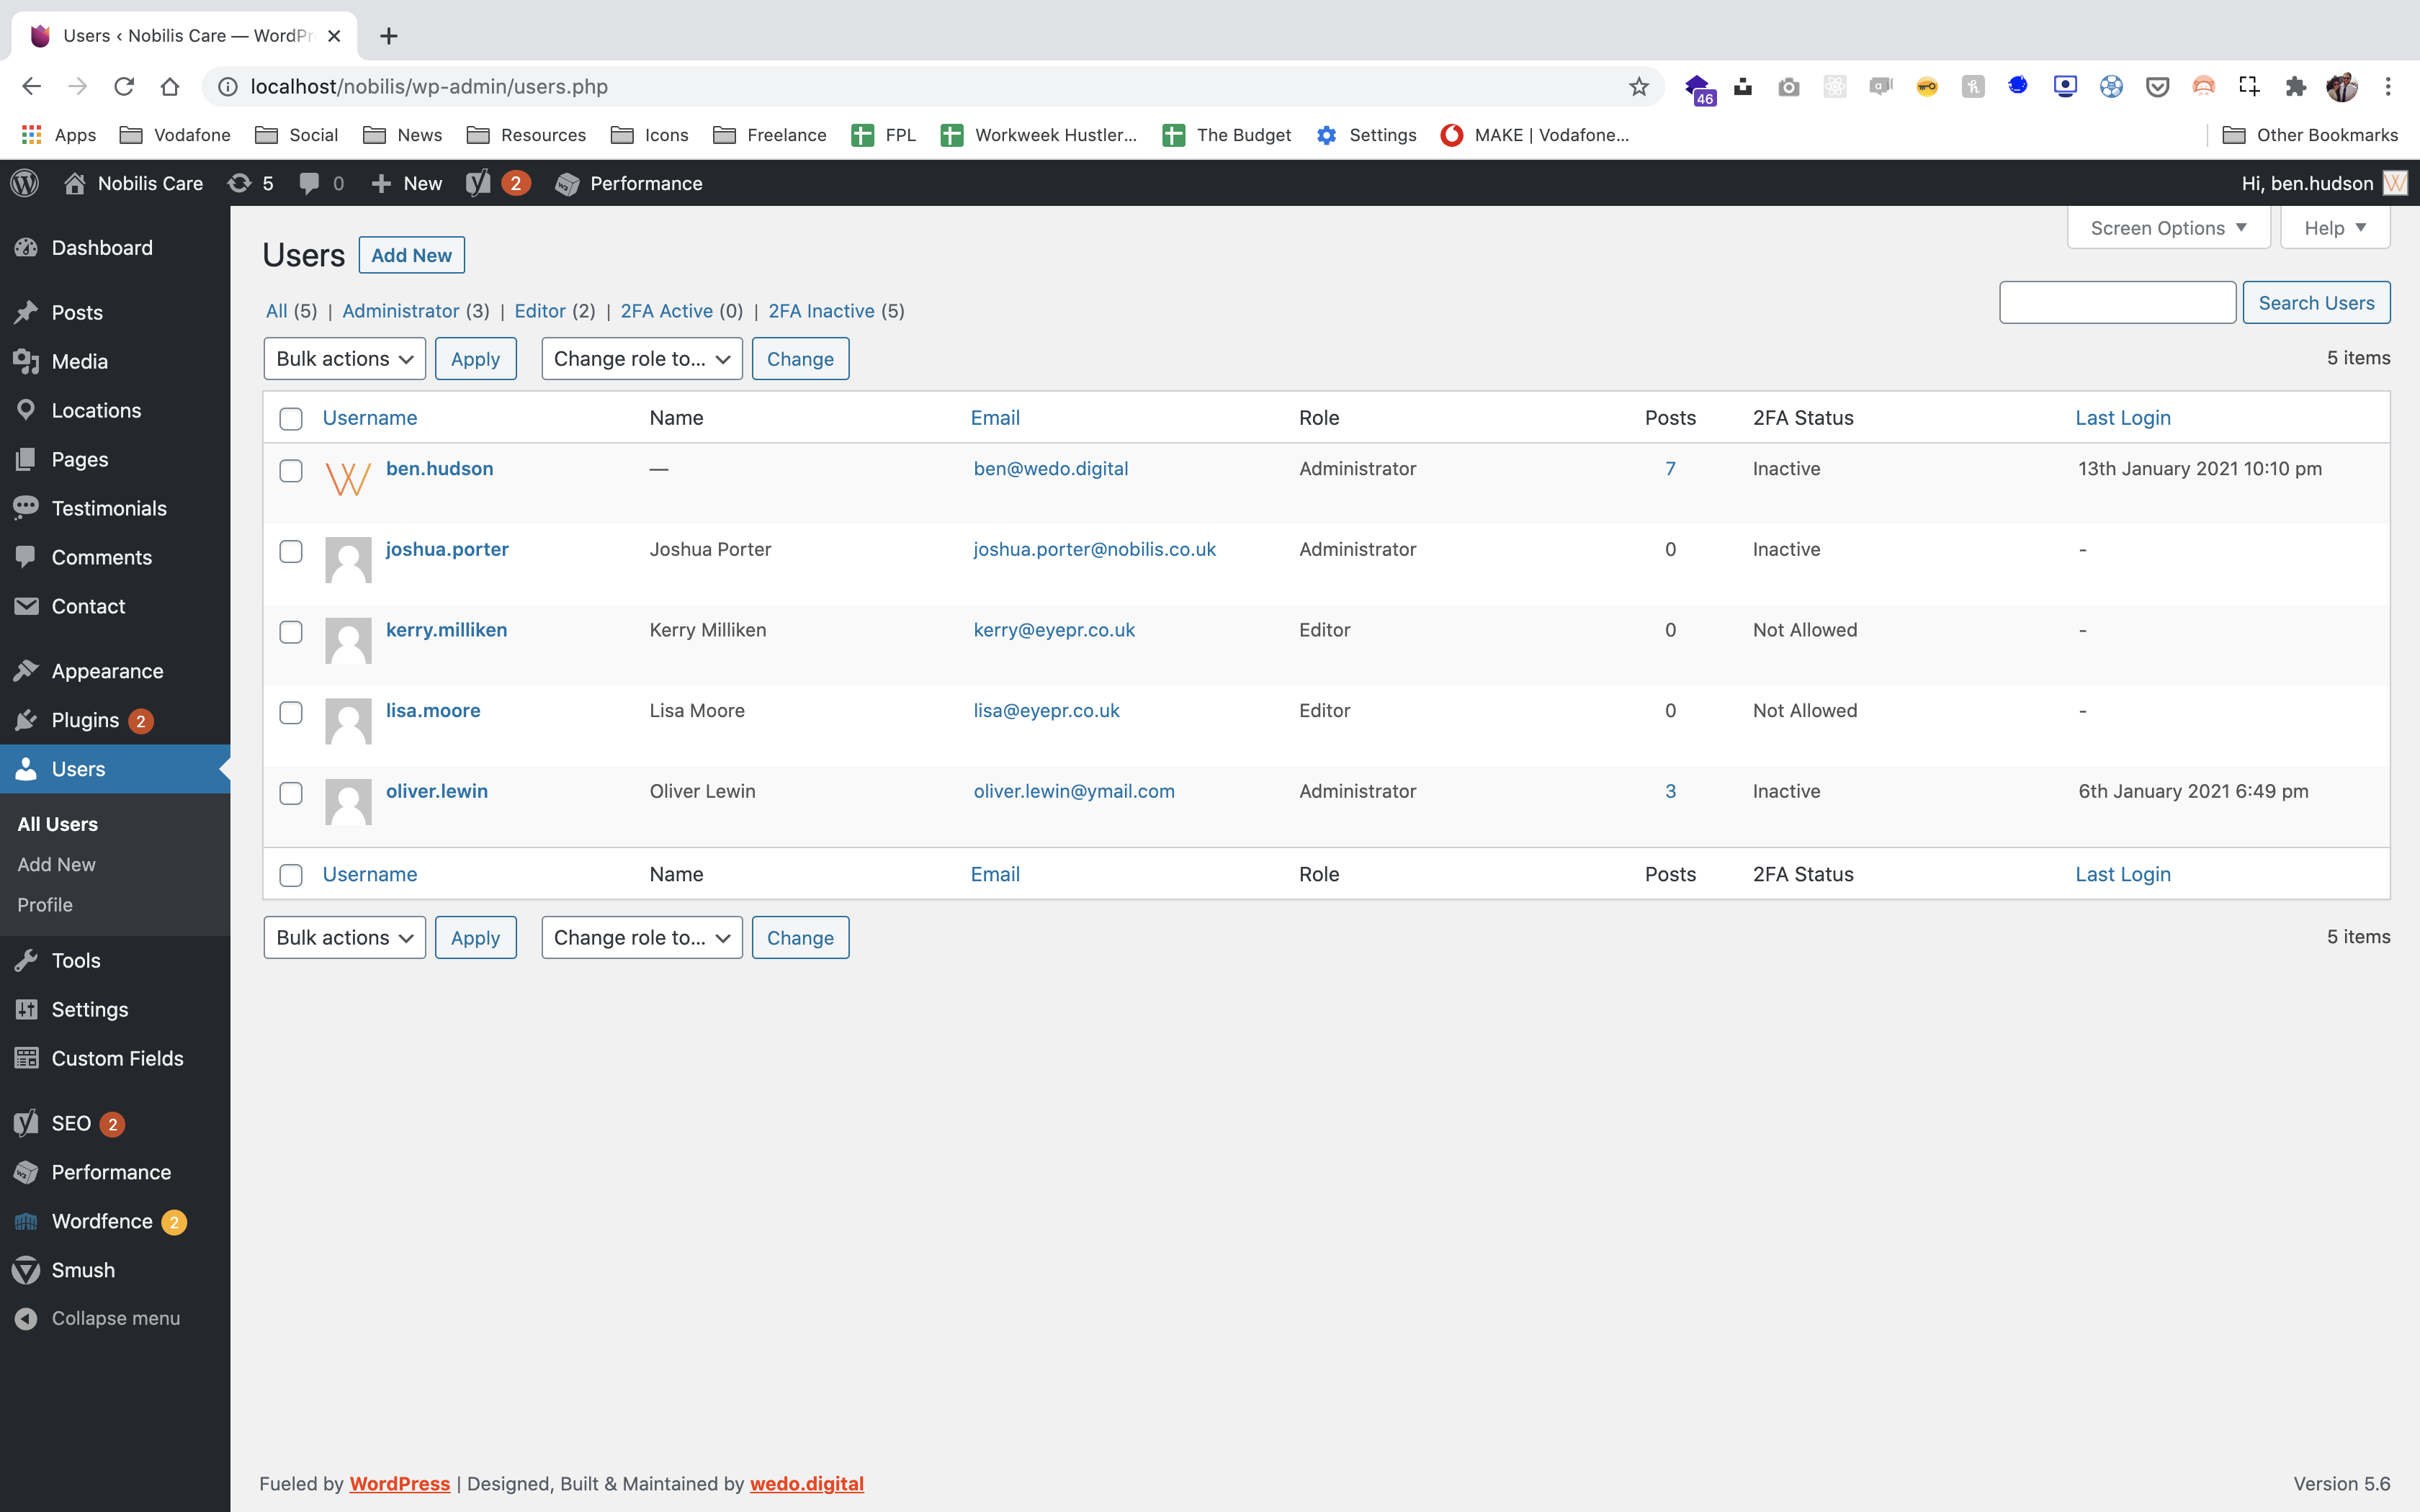
On this page you can add new users and edit/delete existing users.
When adding new users, click the ‘Add User’ button at the top of the page. To edit a user, e.g. change a password, name etc, click on the users name. To delete a user, click in the radio box next to the users name then select ‘Delete’ from the ‘Bulk Actions’ drop down menu, then click the ‘Apply’ button.
When adding new users, please try to stick to the username format firstname.lastname
When making changes to a users information be sure to click the ‘Update Profile’ button at the bottom of the page.
User Roles
When adding a new user you have these ‘Roles’ to choose from:
- Administrator – somebody who has access to all the administration features
- Editor – somebody who can publish and manage posts including the posts of other users.
- Author – somebody who can publish and manage their own posts.
- Contributor – somebody who can write and manage their own posts but cannot publish them.
The Media Library contains images, PDF documents and any other file formats you want to store on your website.
You can upload to this library by selecting the ‘Media’ section in the sidebar, then click the ‘Add New’ button at the top of the page that loads.
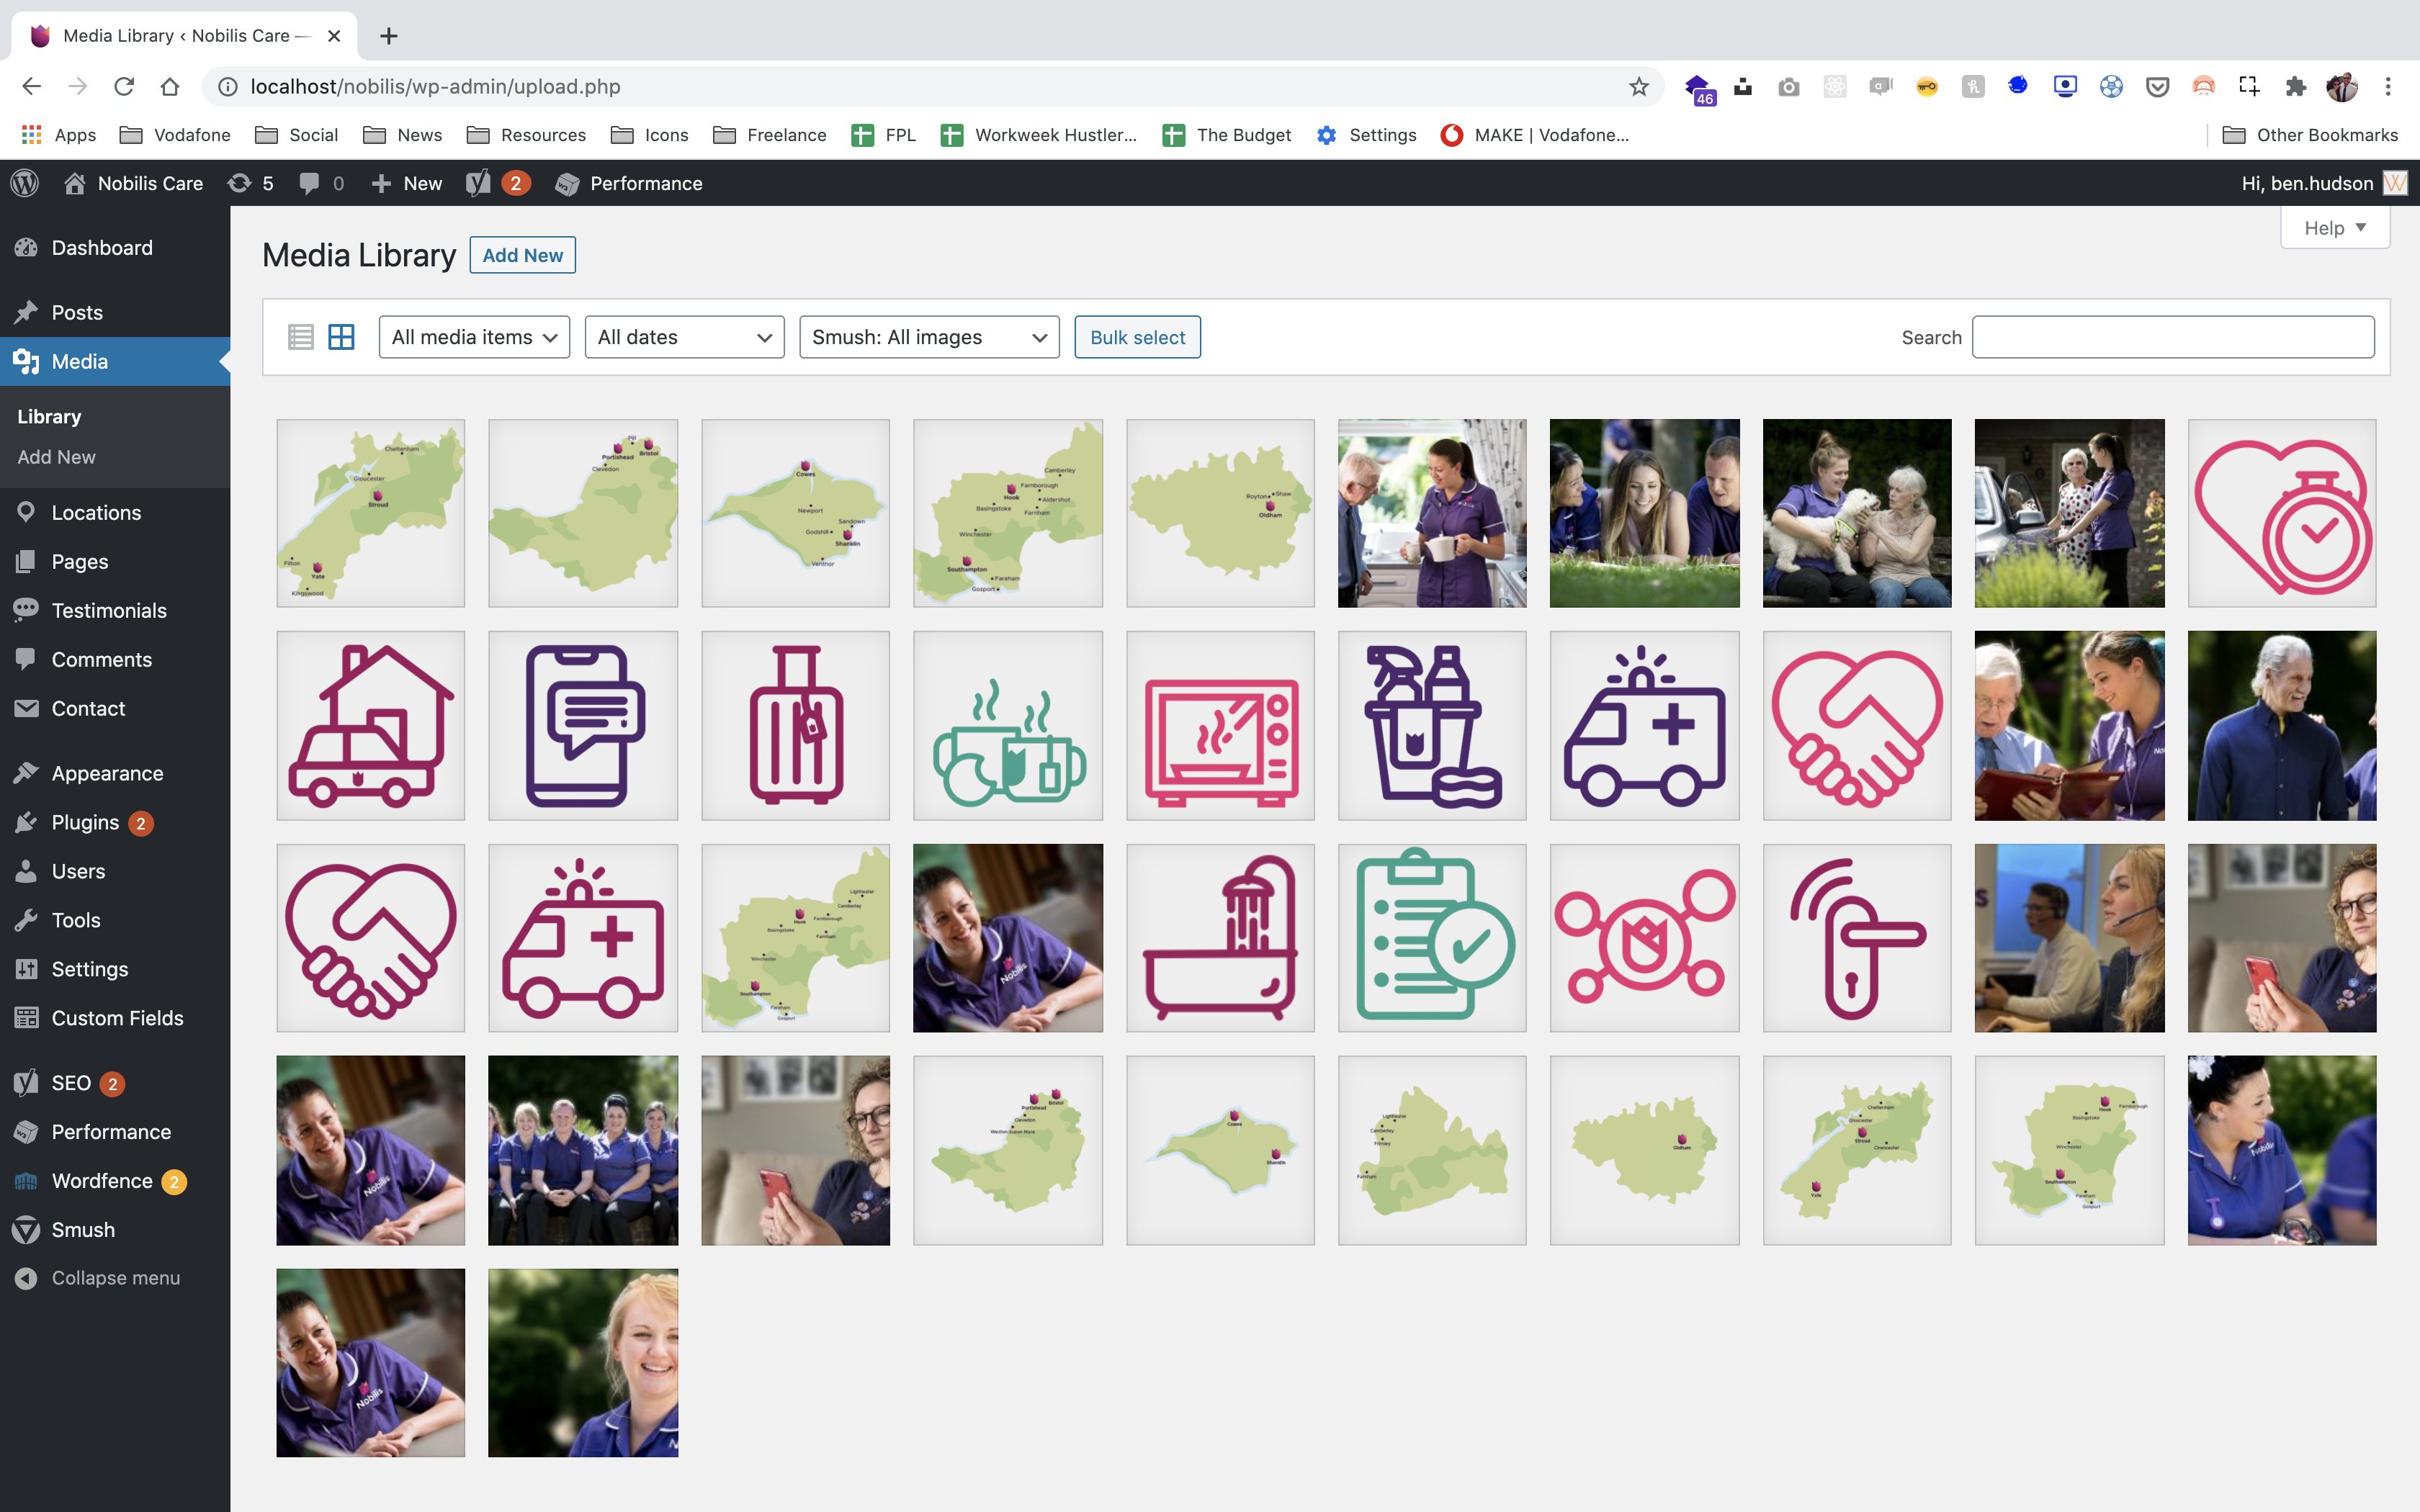
When add new is clicked a dashed box appears. You can either drag and drop your file from your computer into the dashed box or click the ‘Select Files’ button to find and select the document you want to upload.
Resizing & Cropping Images
Click Media from your WordPress sidebar, then click on the image you want to re-size or crop.
In the ‘Attachment Details’ window that appears, click the ‘Edit Image’ button that is below the image you want to edit.
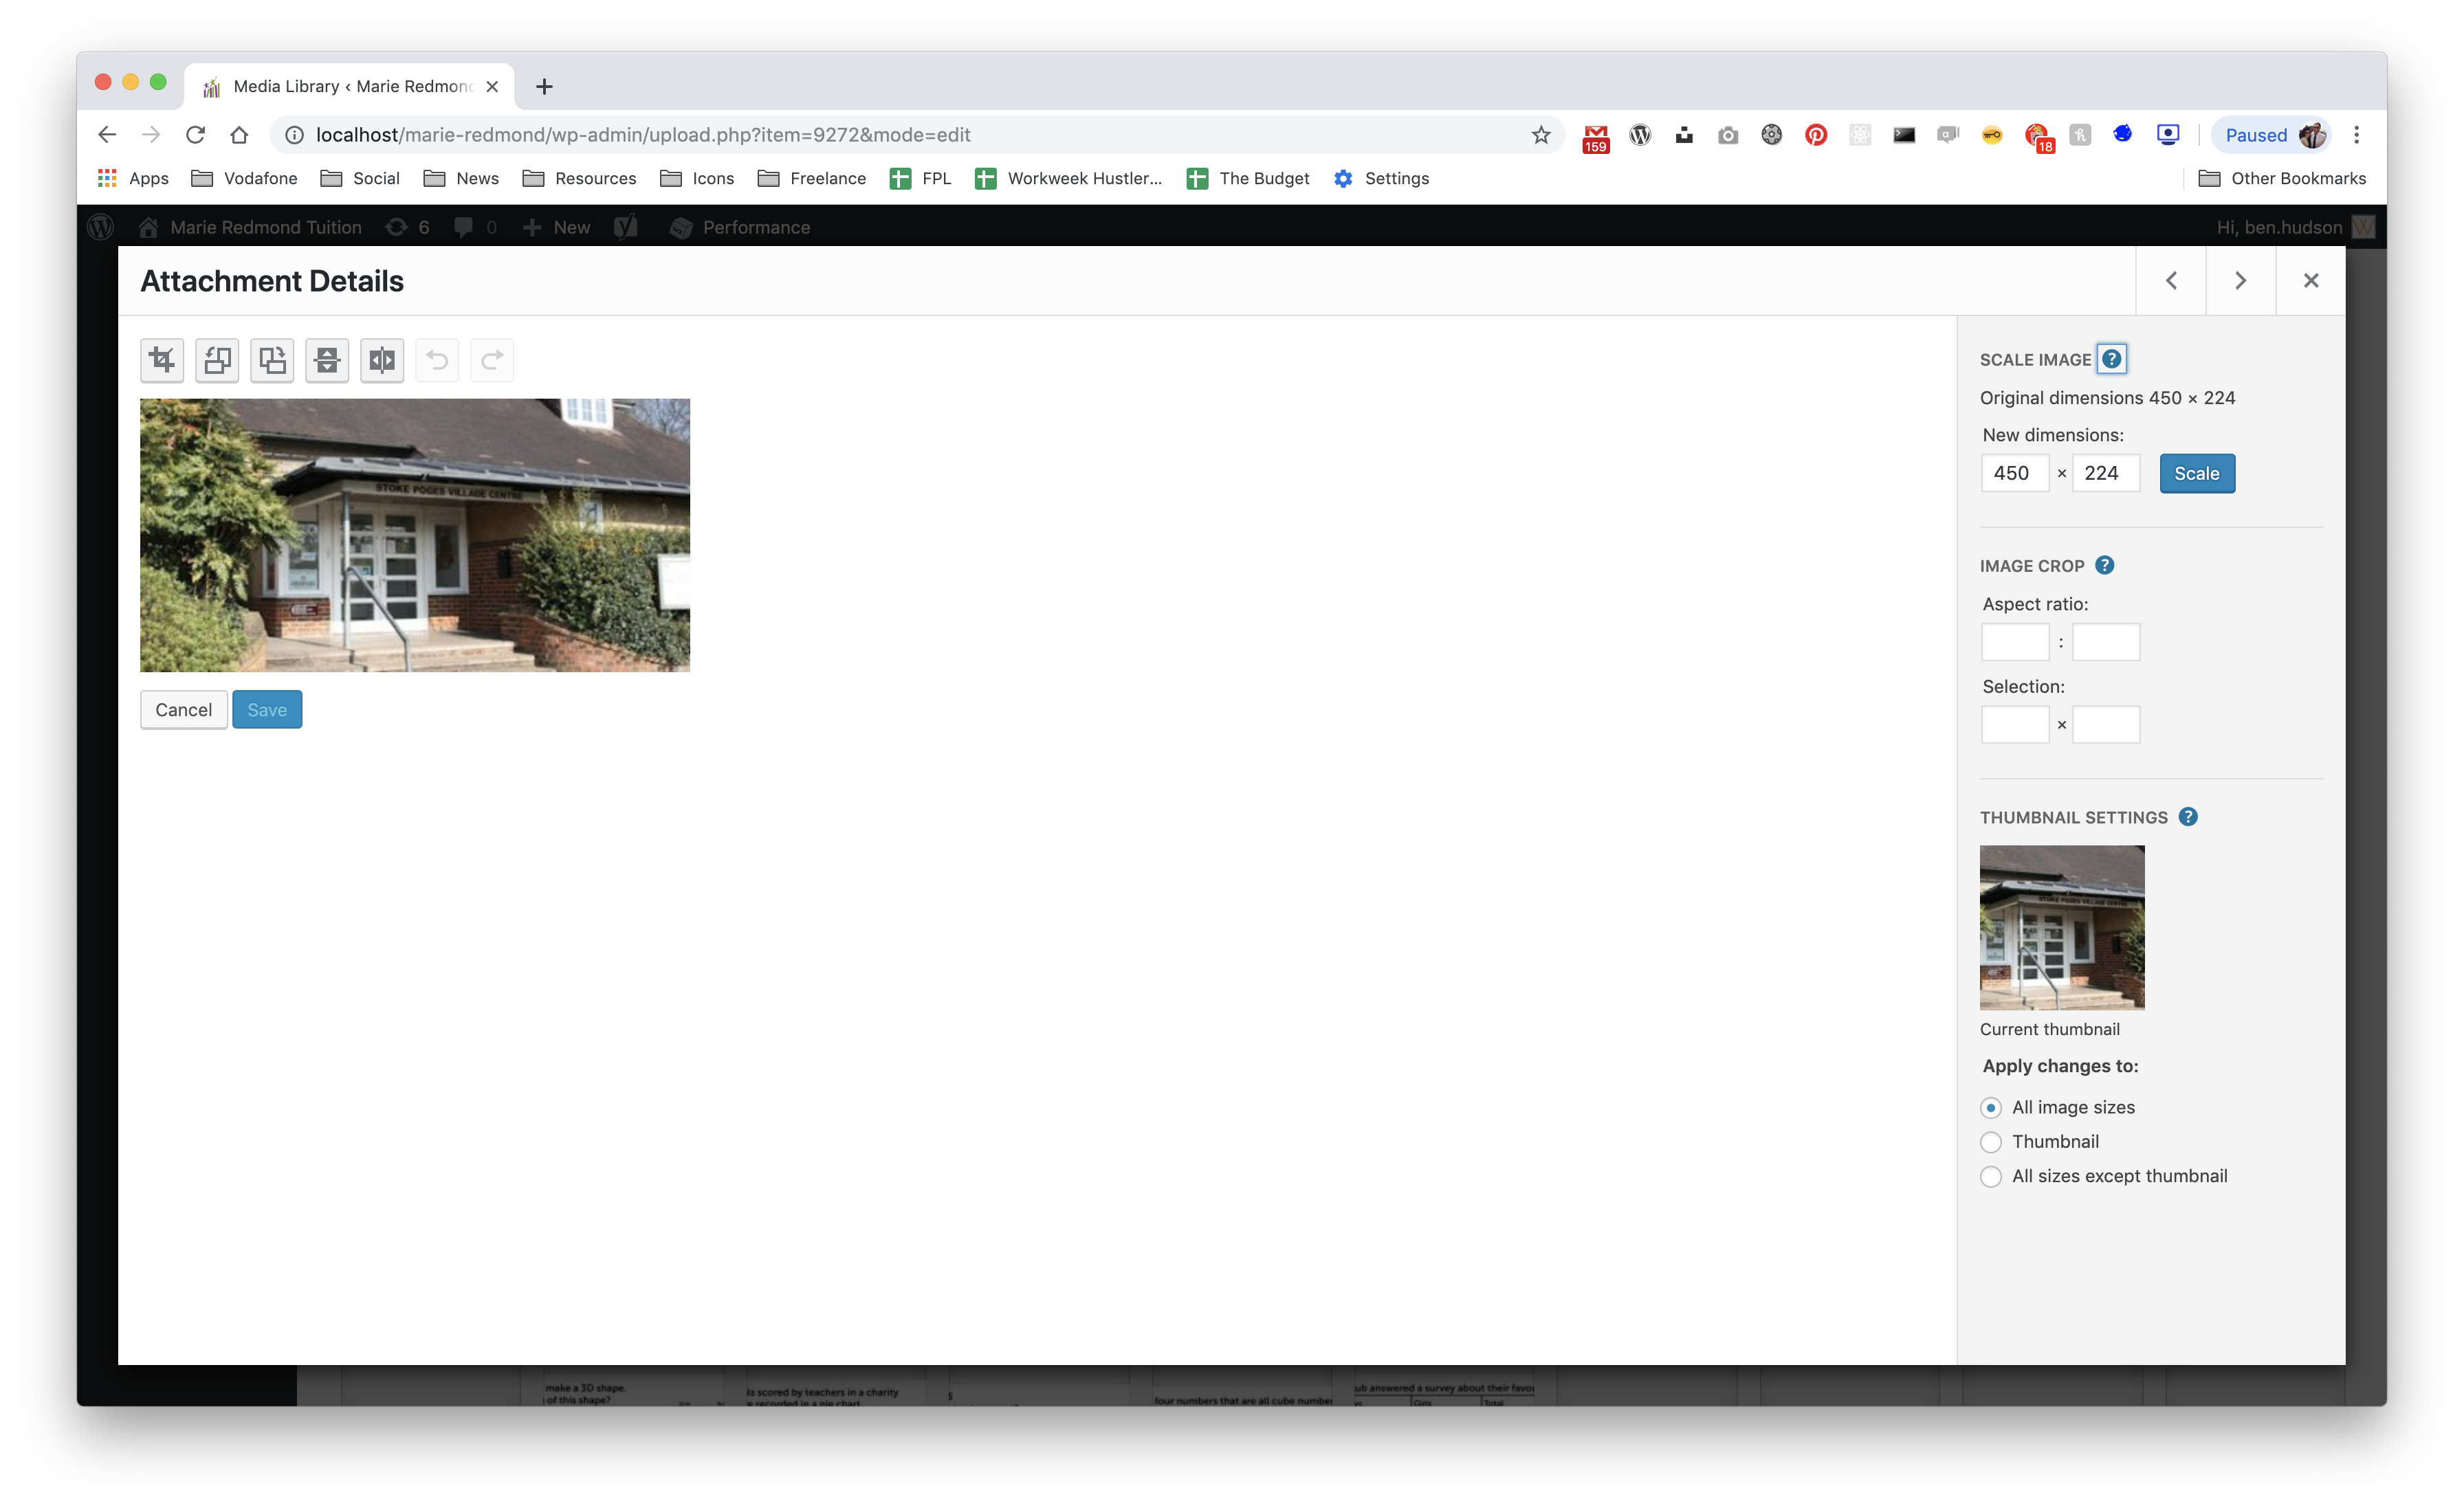
To change the image size to 1000 pixel (px) wide, type 1000 into the first box under the ‘Scale Image’ text, the second box will automatically populate for you. Click the ‘Scale’ button to action the change.
To crop the image, click and drag on the image that is shown on the left of the screen. You can then define the size of the crop by typing in the ‘Selection’ boxes under ‘Image Crop’ on the right of the screen, both boxes need to have values typed in them. Once the selection has been made click the ‘Crop’ icon above the image, then click the ‘Save’ button.
To restore the image back to the original, click the ‘Restore Original Image’ text on the right of the screen, then the ‘Restore image’ button. This ‘Restore Original Image’ text will only appear once any changes have been made and you have closed the original ‘Attachment Details’ window.
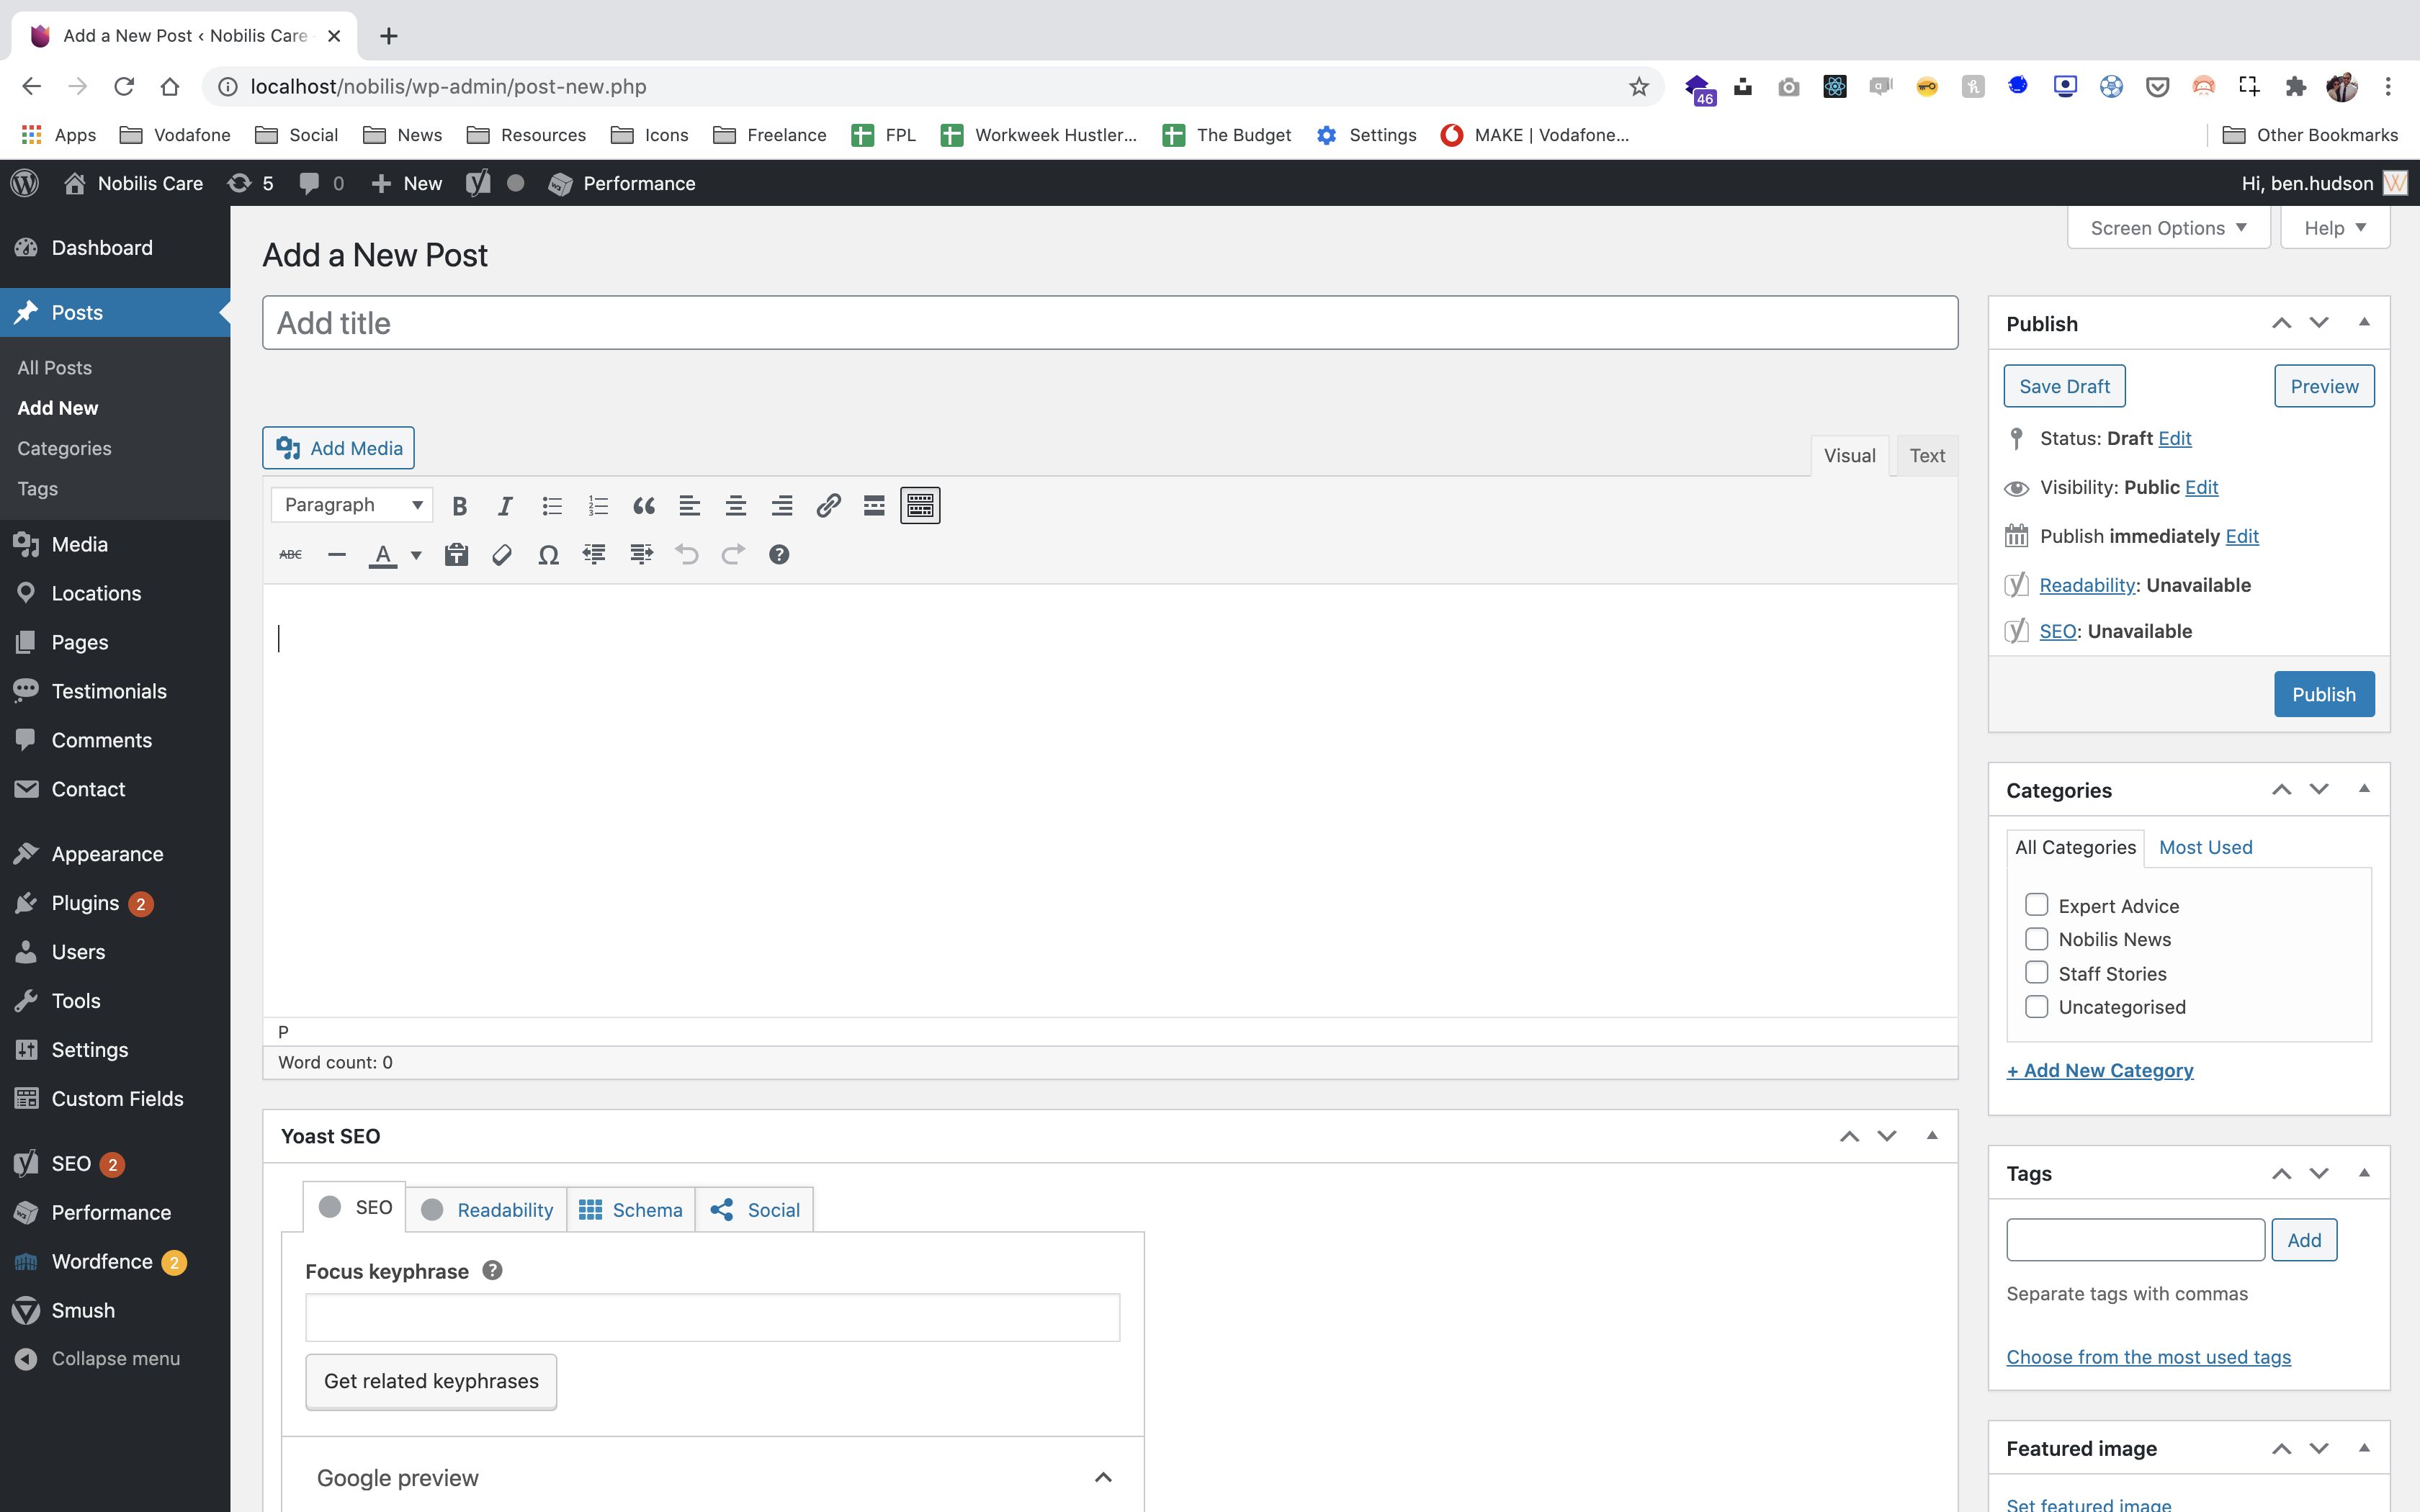
The WordPress content editor follows the same basic layout throughout the site. There are some specific pages which have custom fields and are managed in a slightly different way, but for the most part, any page or post you want to edit on your site will look something like this.
-
Make sure that the ‘Visual’ tab is selected so you can view the various styling option that are available through WordPress.
-
To view all the styling options that are available click the ‘Toolbar Toggle’ button that is selected above.
-
You can select your text styling (Heading 2 and Paragraph) from the ‘Paragraph’ drop down menu. All other styling can be selected using the icons in the ‘Main Content Editor’.
For blog posts, you will need to select a category which can be found on the right, underneath the publish box.
Text Styling
Text is styled using the various styling options provided on the website. These are accessible using the text styling drop-down menu and various styling buttons on the page editor.
If you are pasting in text from somewhere else (e.g. another website or a Word Document) click on the icon of a clipboard with a capital ‘T’ in front of it before pasting your content. This will remove any formatting (such as bold or italic) from the text you paste into the text editor. To paste in Rich content (content with formatting) just click the clipboard again and paste your content. We always recommend pasting content that has no formatting so as it matches your brand styling.
Adding Links To Text
To add a link, highlight the text and click on the chain icon in the text editor.
This will bring up a new window where you can paste in the URL of the website you want the link to go to. You can get this URL from the top of your browser.
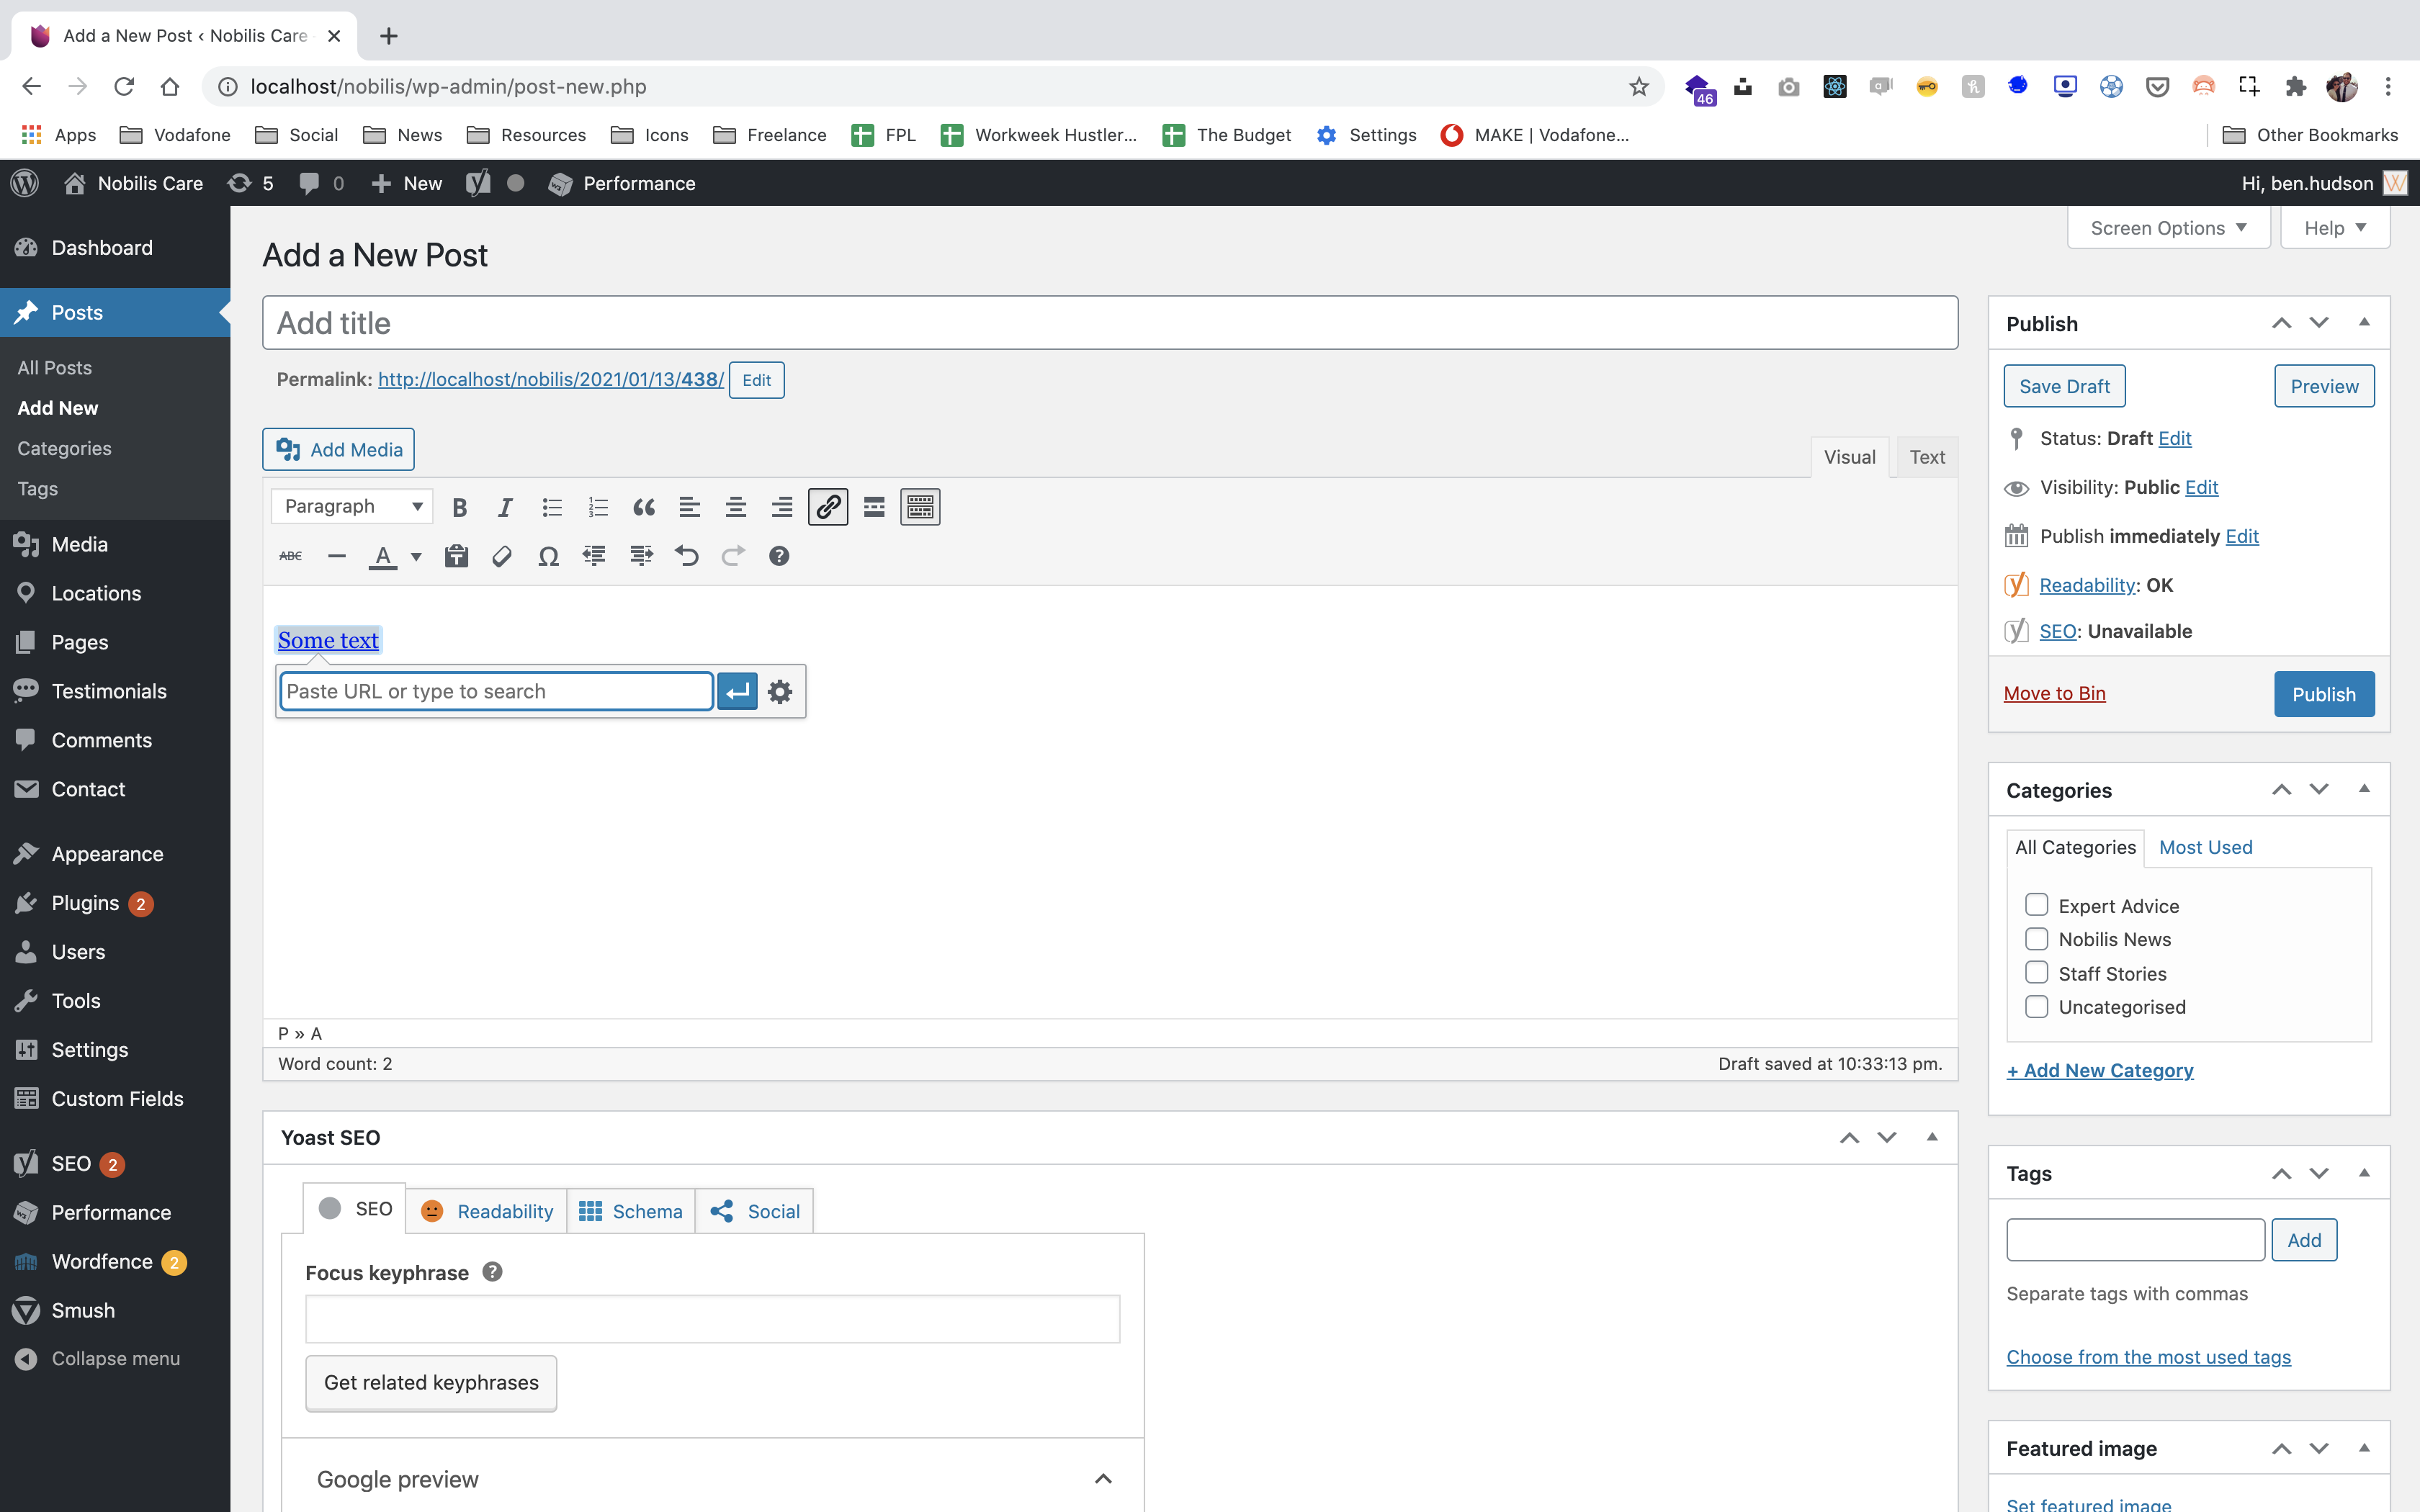
You can also type in the name of the website into the ‘Title’ box. If you are linking to another website, click the cog icon to access more settings and tick the ‘Open link in a new window/tab’ box. This ensures that the user is not navigated away from your website. If you are linking to another page within your website you do not tick this box.
You can link to a page on your website by doing a search using the ‘Search’ box, then click on the page you want to link to.
If you would like to link to a document in your media library you can obtain a URL from there, and paste it in as you would a website URL.
Click the ‘Add Link’ button. Remember to click the ‘Update’ button on the right of the page to save any changes.
Preview, Publish, Update, Save as Draft & Schedule
To see what your new page/post looks like without publishing/updating it, click on the ‘Preview’ button in the right hand menu. If you’re happy with the page/post you can click the ‘Publish’ button, also located in the right hand menu.
If you begin writing a new post or page, you can always ‘Save as Draft’ if you wish to finish it later. The button is located in the right hand menu.
A post can be scheduled to go live on a required date. Click the ‘Edit’ text next to the ‘Publish immediately’ text in the ‘Publish’ box. You can then select a date and time to publish the post. Click OK then Schedule to queue the post.
If you edit a page/post that has already been published, remember to click the ‘Update’ button in the right hand menu to save any changes.
Each page allows the use of a Feature Image, for example the image that sits at the top of a post or page. To set the Feature Image, click on ‘Set Feature Image’ or click ‘Remove Feature Image’ in the ‘Feature Image’ box.

Body Images
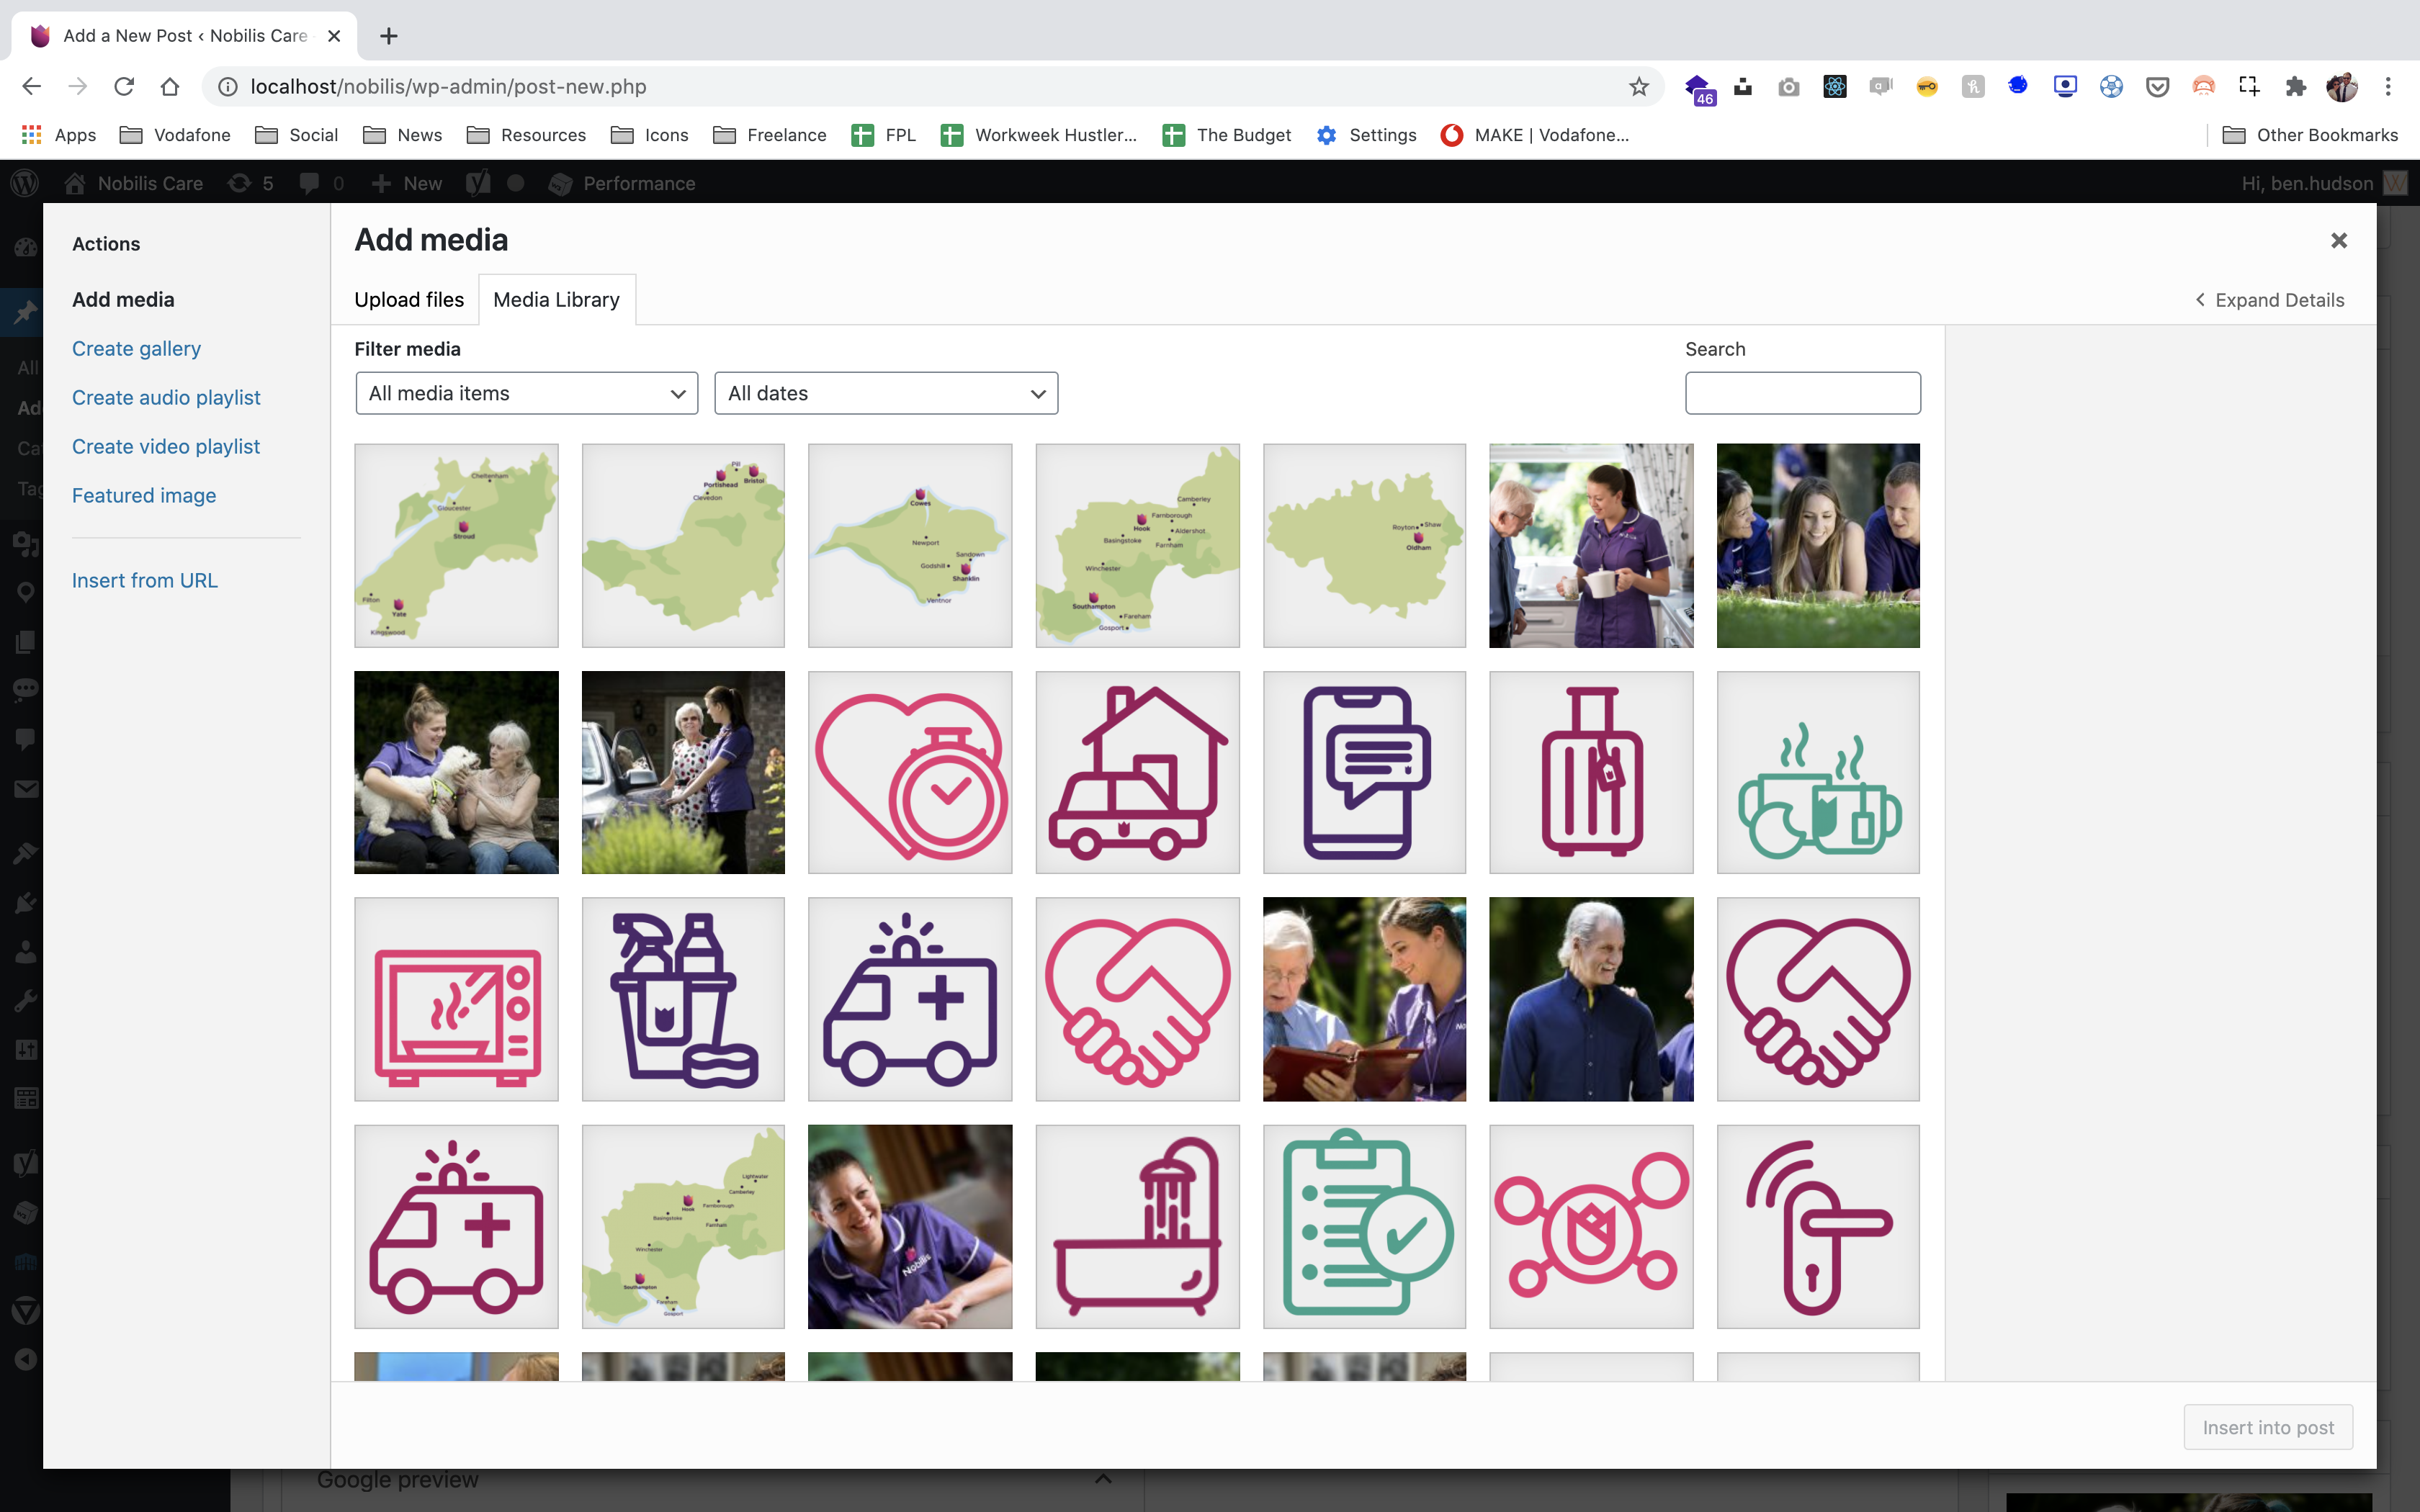
To add an image to the content body, click on the ‘Add Media’ button. Here you can upload an image by browsing for or dragging and dropping your desired image. This area also allows you to set any image alignments. Use ‘none’ as your default so as text doesn’t wrap around the image, you also have left and right options.
Adding Videos
Navigate to Youtube and find the video that you want to insert.
Copy the video URL from your browsers address bar.
Paste the web address into the ‘Main Content Editor’. WordPress will automatically format the video and embed it for you.
To add a blog article, click the ‘Posts’ link in the WordPress Sidebar.
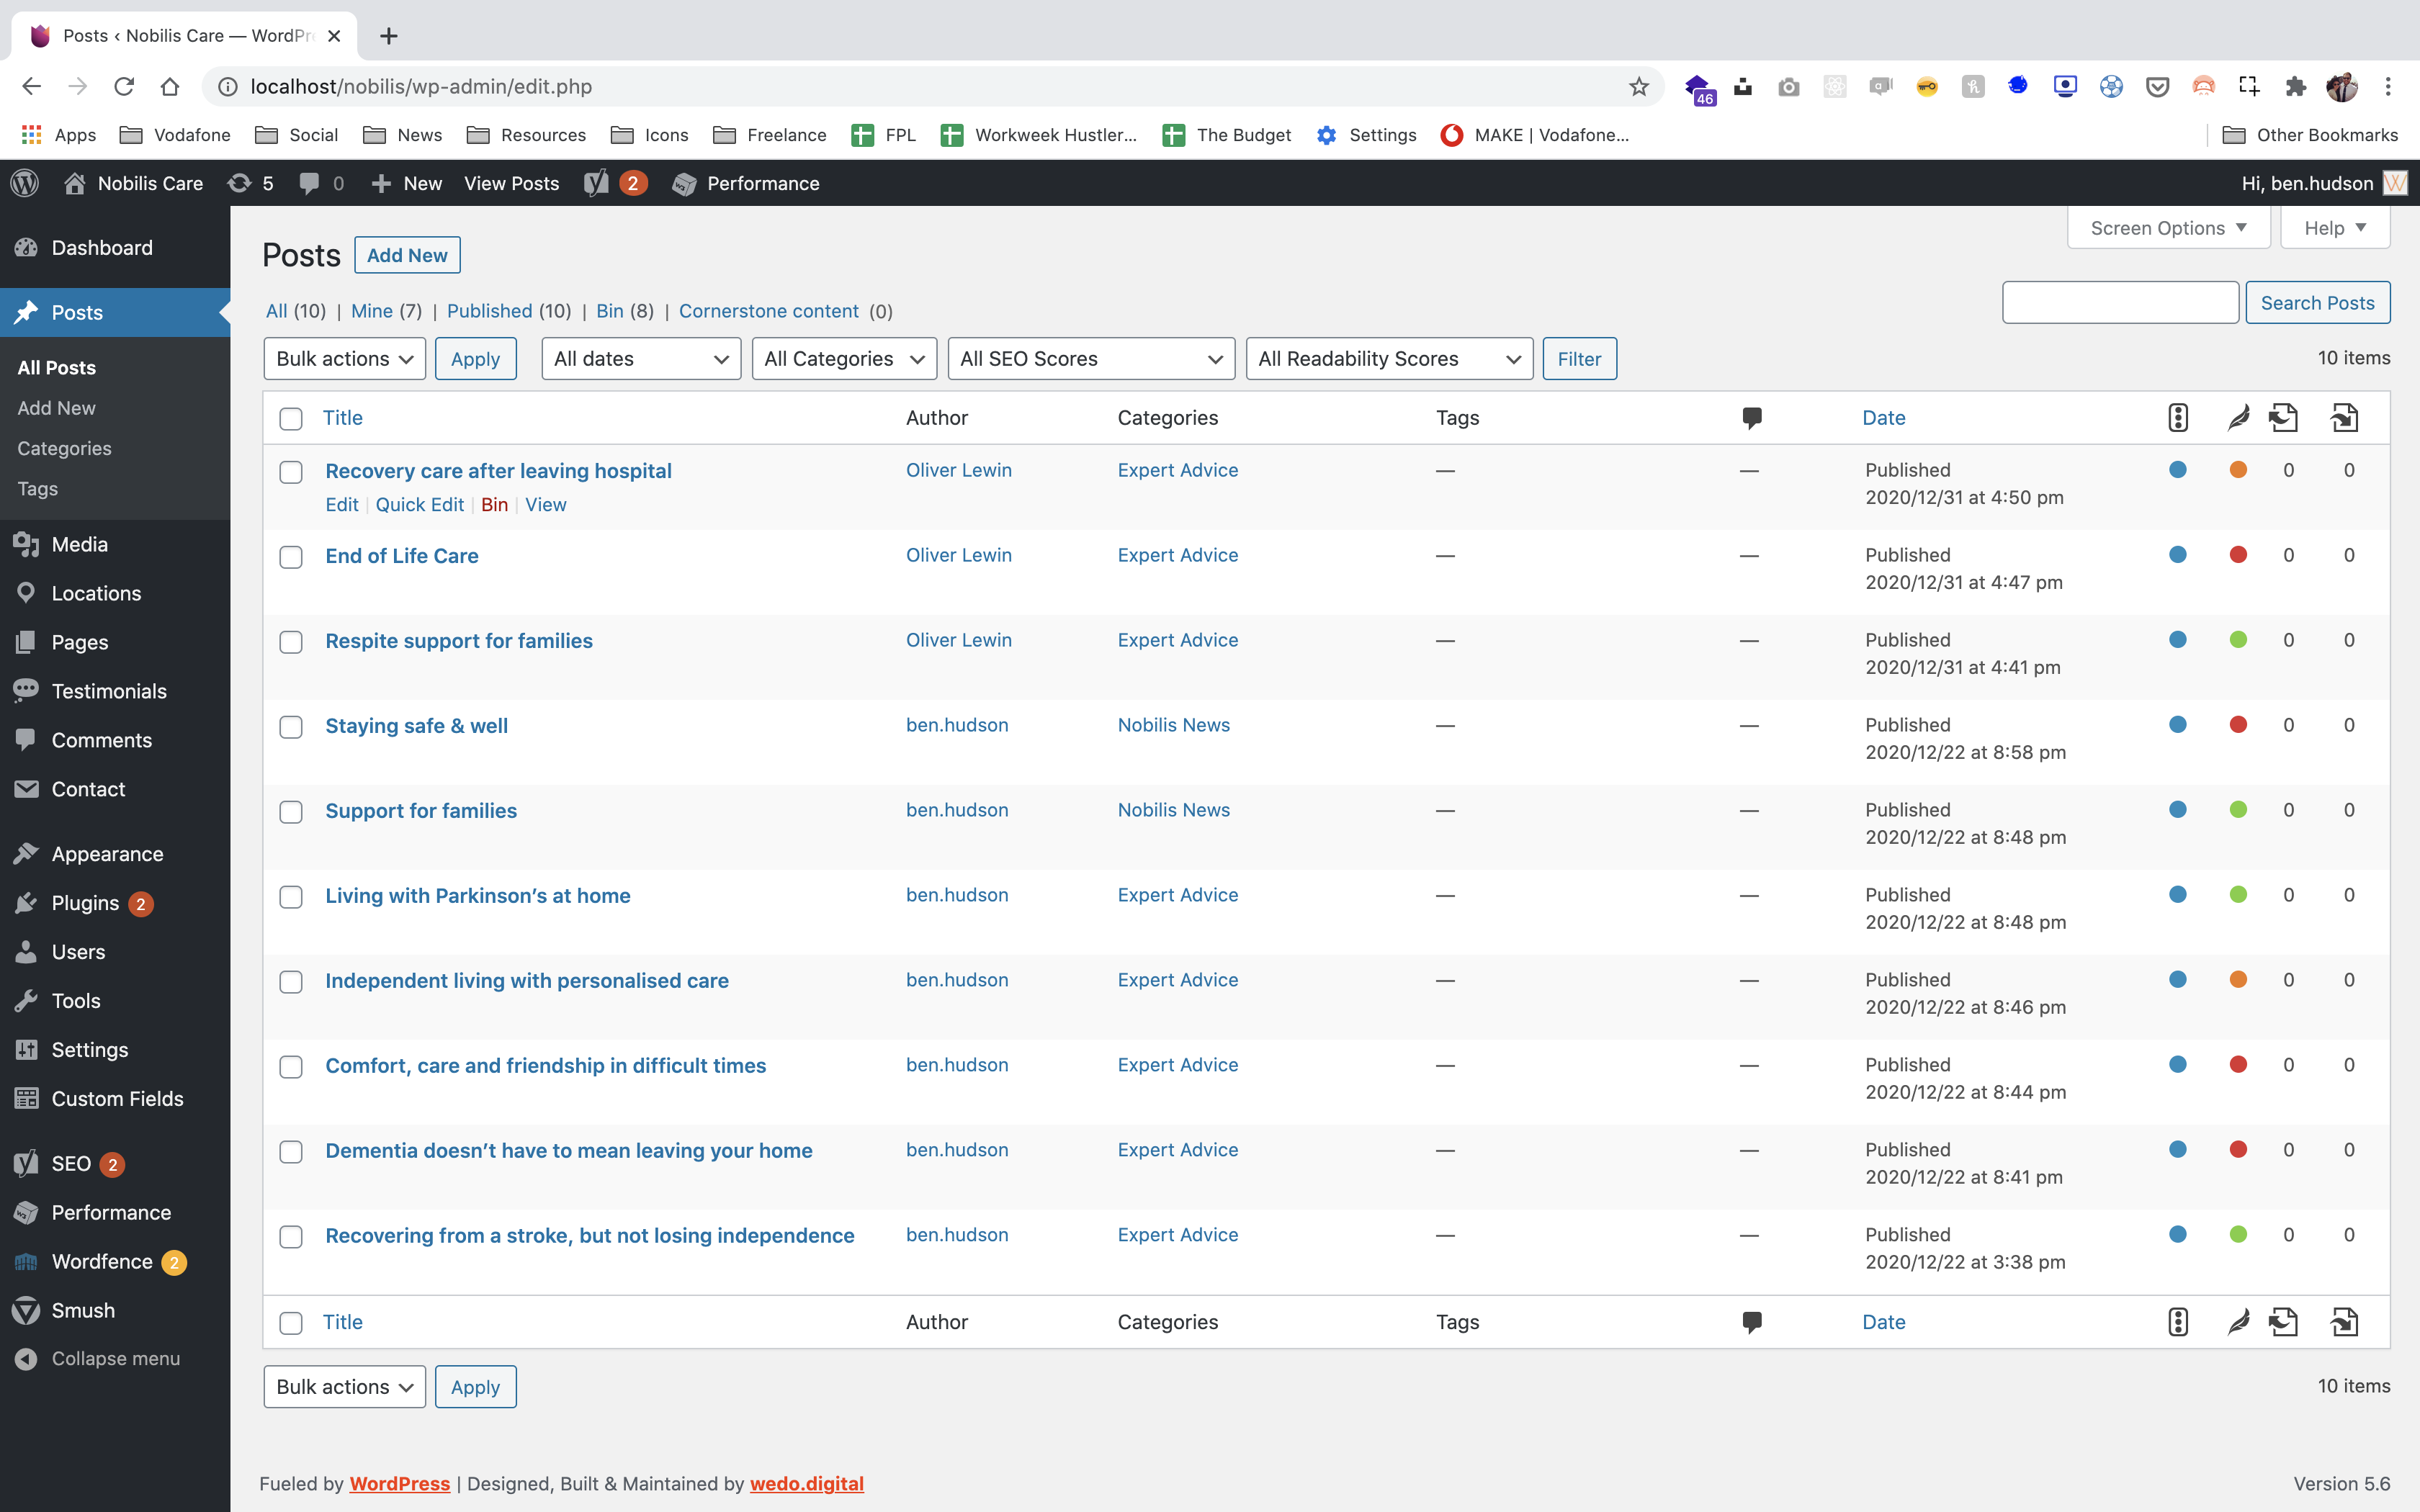
Click the ‘Add New’ button at the top of the page to add a blog article To edit an existing blog article click the name of it.
Once all the content has been added, you will need to assign a category. You can select a category by clicking in the box next to the category in the ‘Categories’ menu on the right side of the page.
You can create a new category by clicking the ‘Add New Category’ text. The new category goes into the empty field that appears.
Once the article has been completed you can preview it before making it live, publish it, save as draft so as you can edit it later or schedule it to go live at a later date. If you are updating an existing article you will need to press the update button to save any changes. All of these options can be found in the right hand menu on the page.
Categories
To view the blog categories, place your mouse over ‘Posts’ then select ‘Categories’ from the menu that appears on the right.
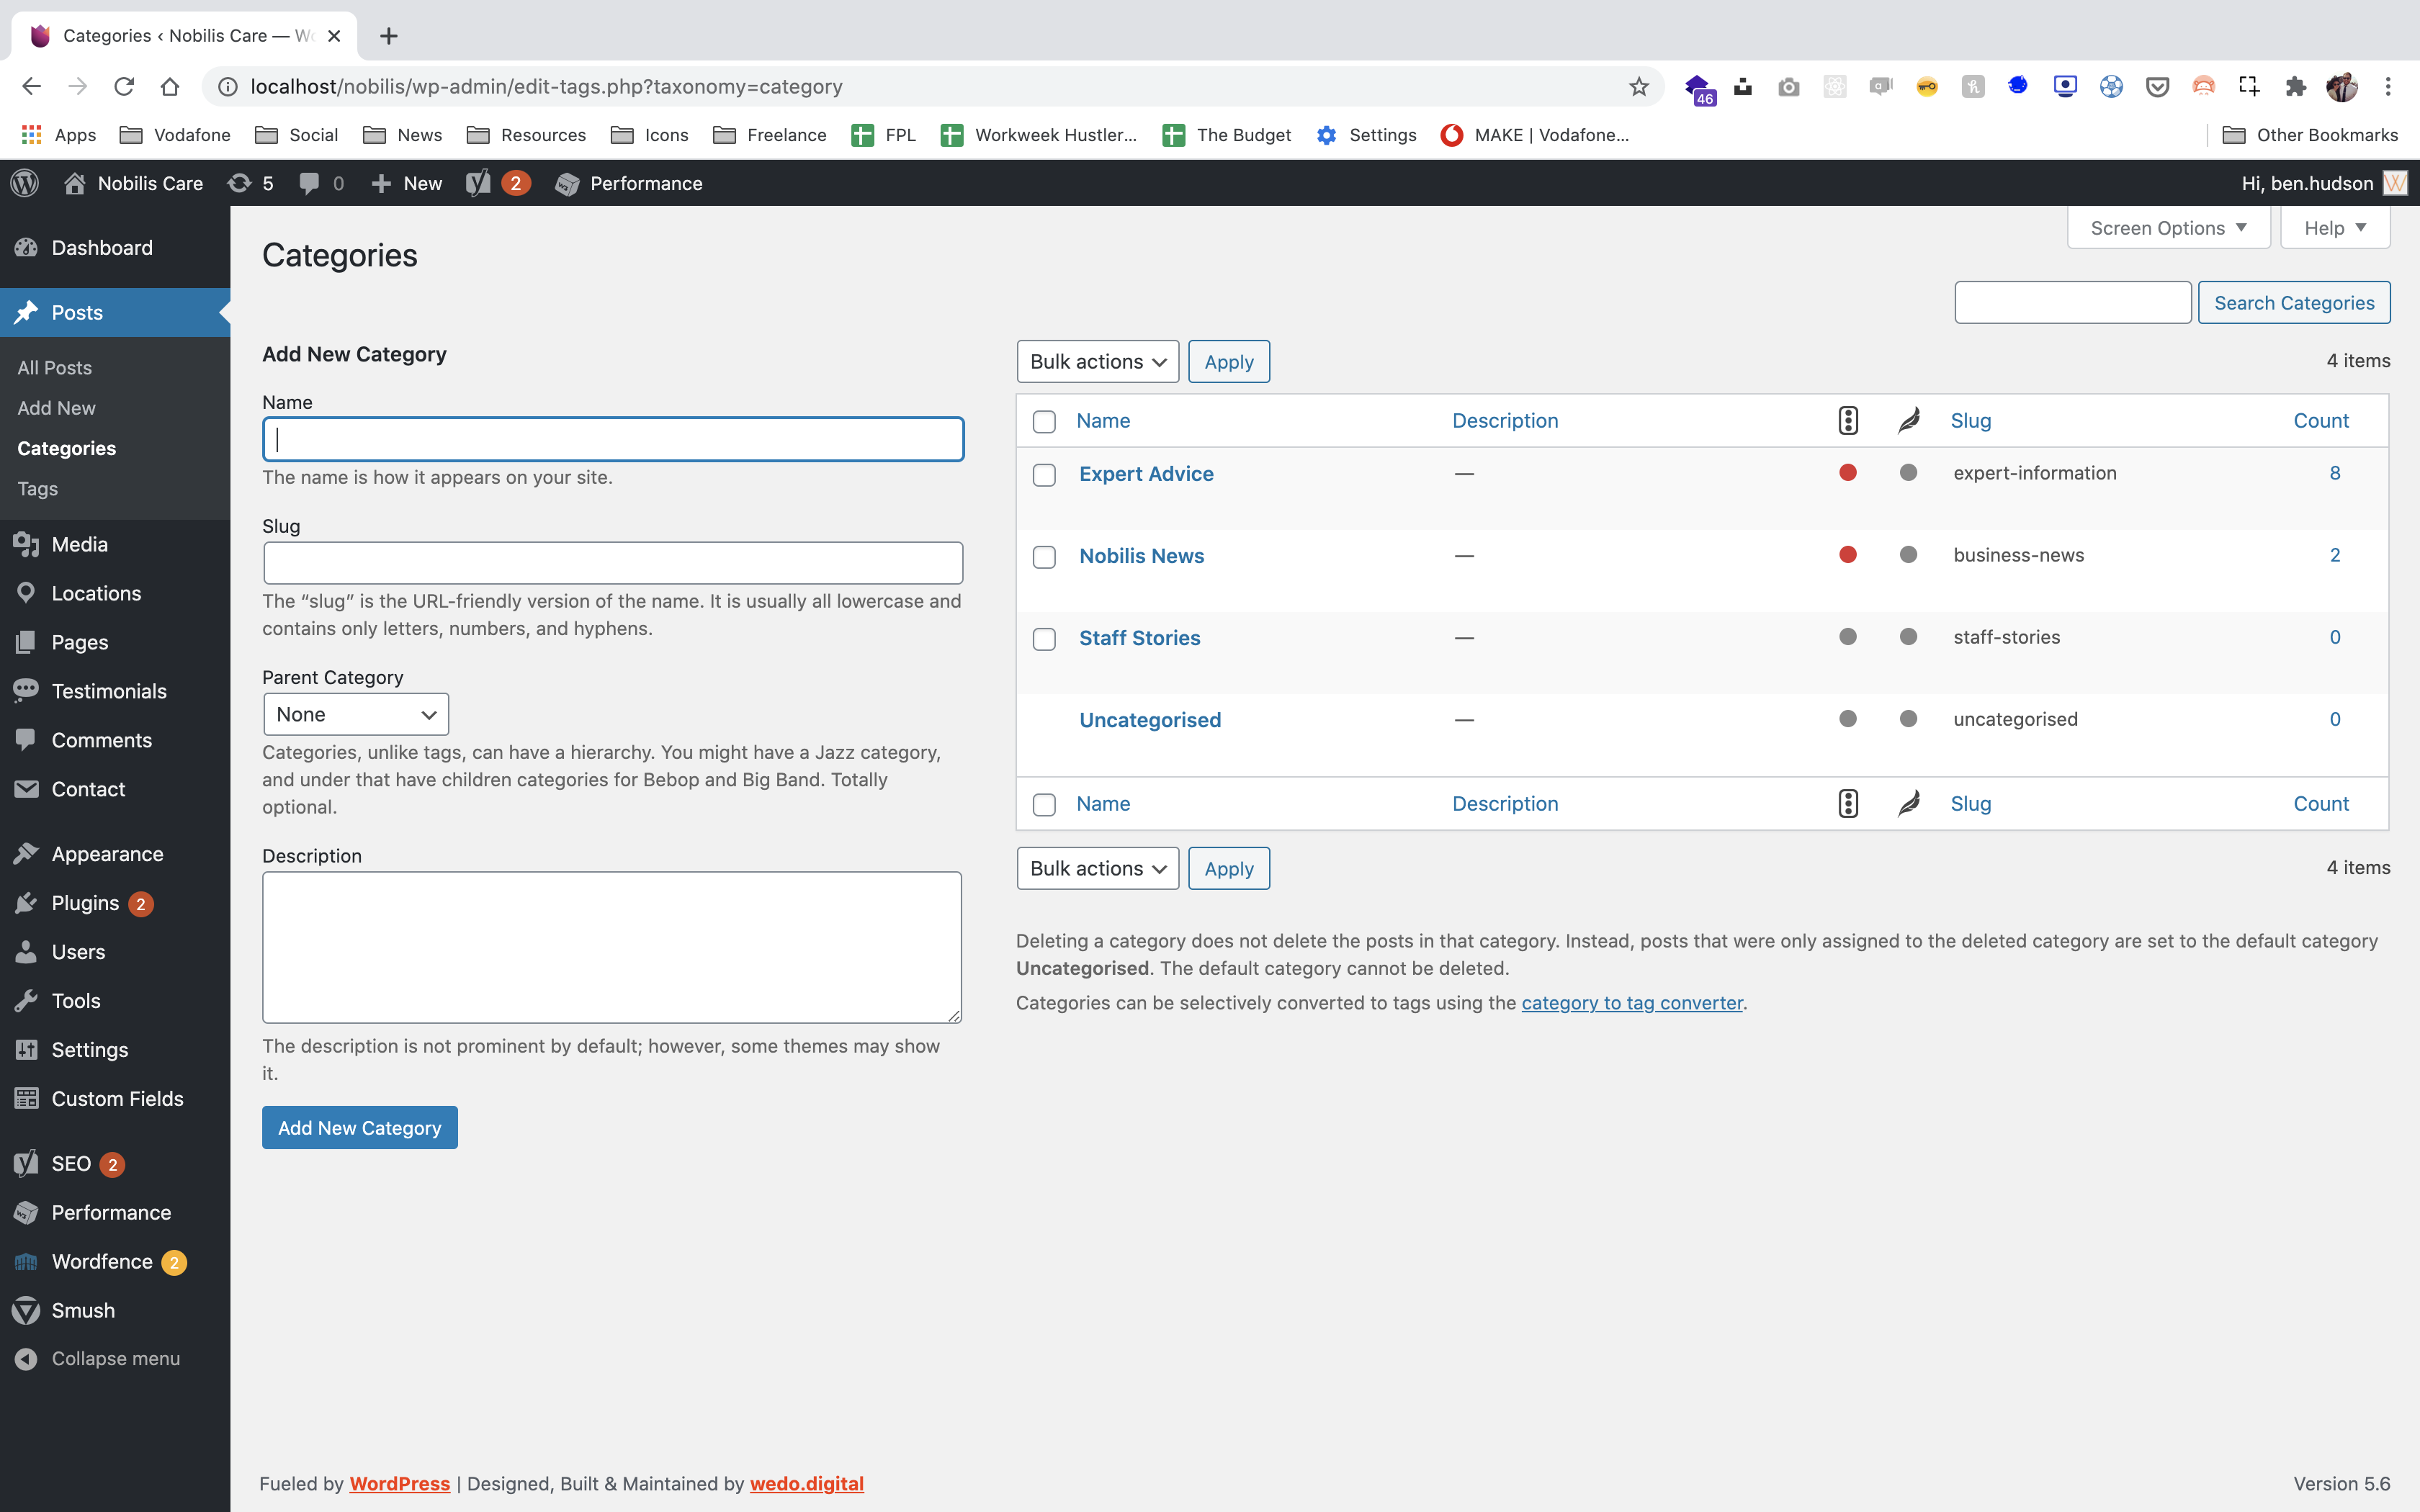
To add a new category type the name into the ‘Name’ field.
The slug is automatically generated when the category is created.
To add the category to your website click the ‘Add New Category’ button.
Pages are managed in the same way as posts. We will have set up everything you need for when the site goes live, and added all the content that you provided, but here’s how to edit them if needs be.
Adding New Pages
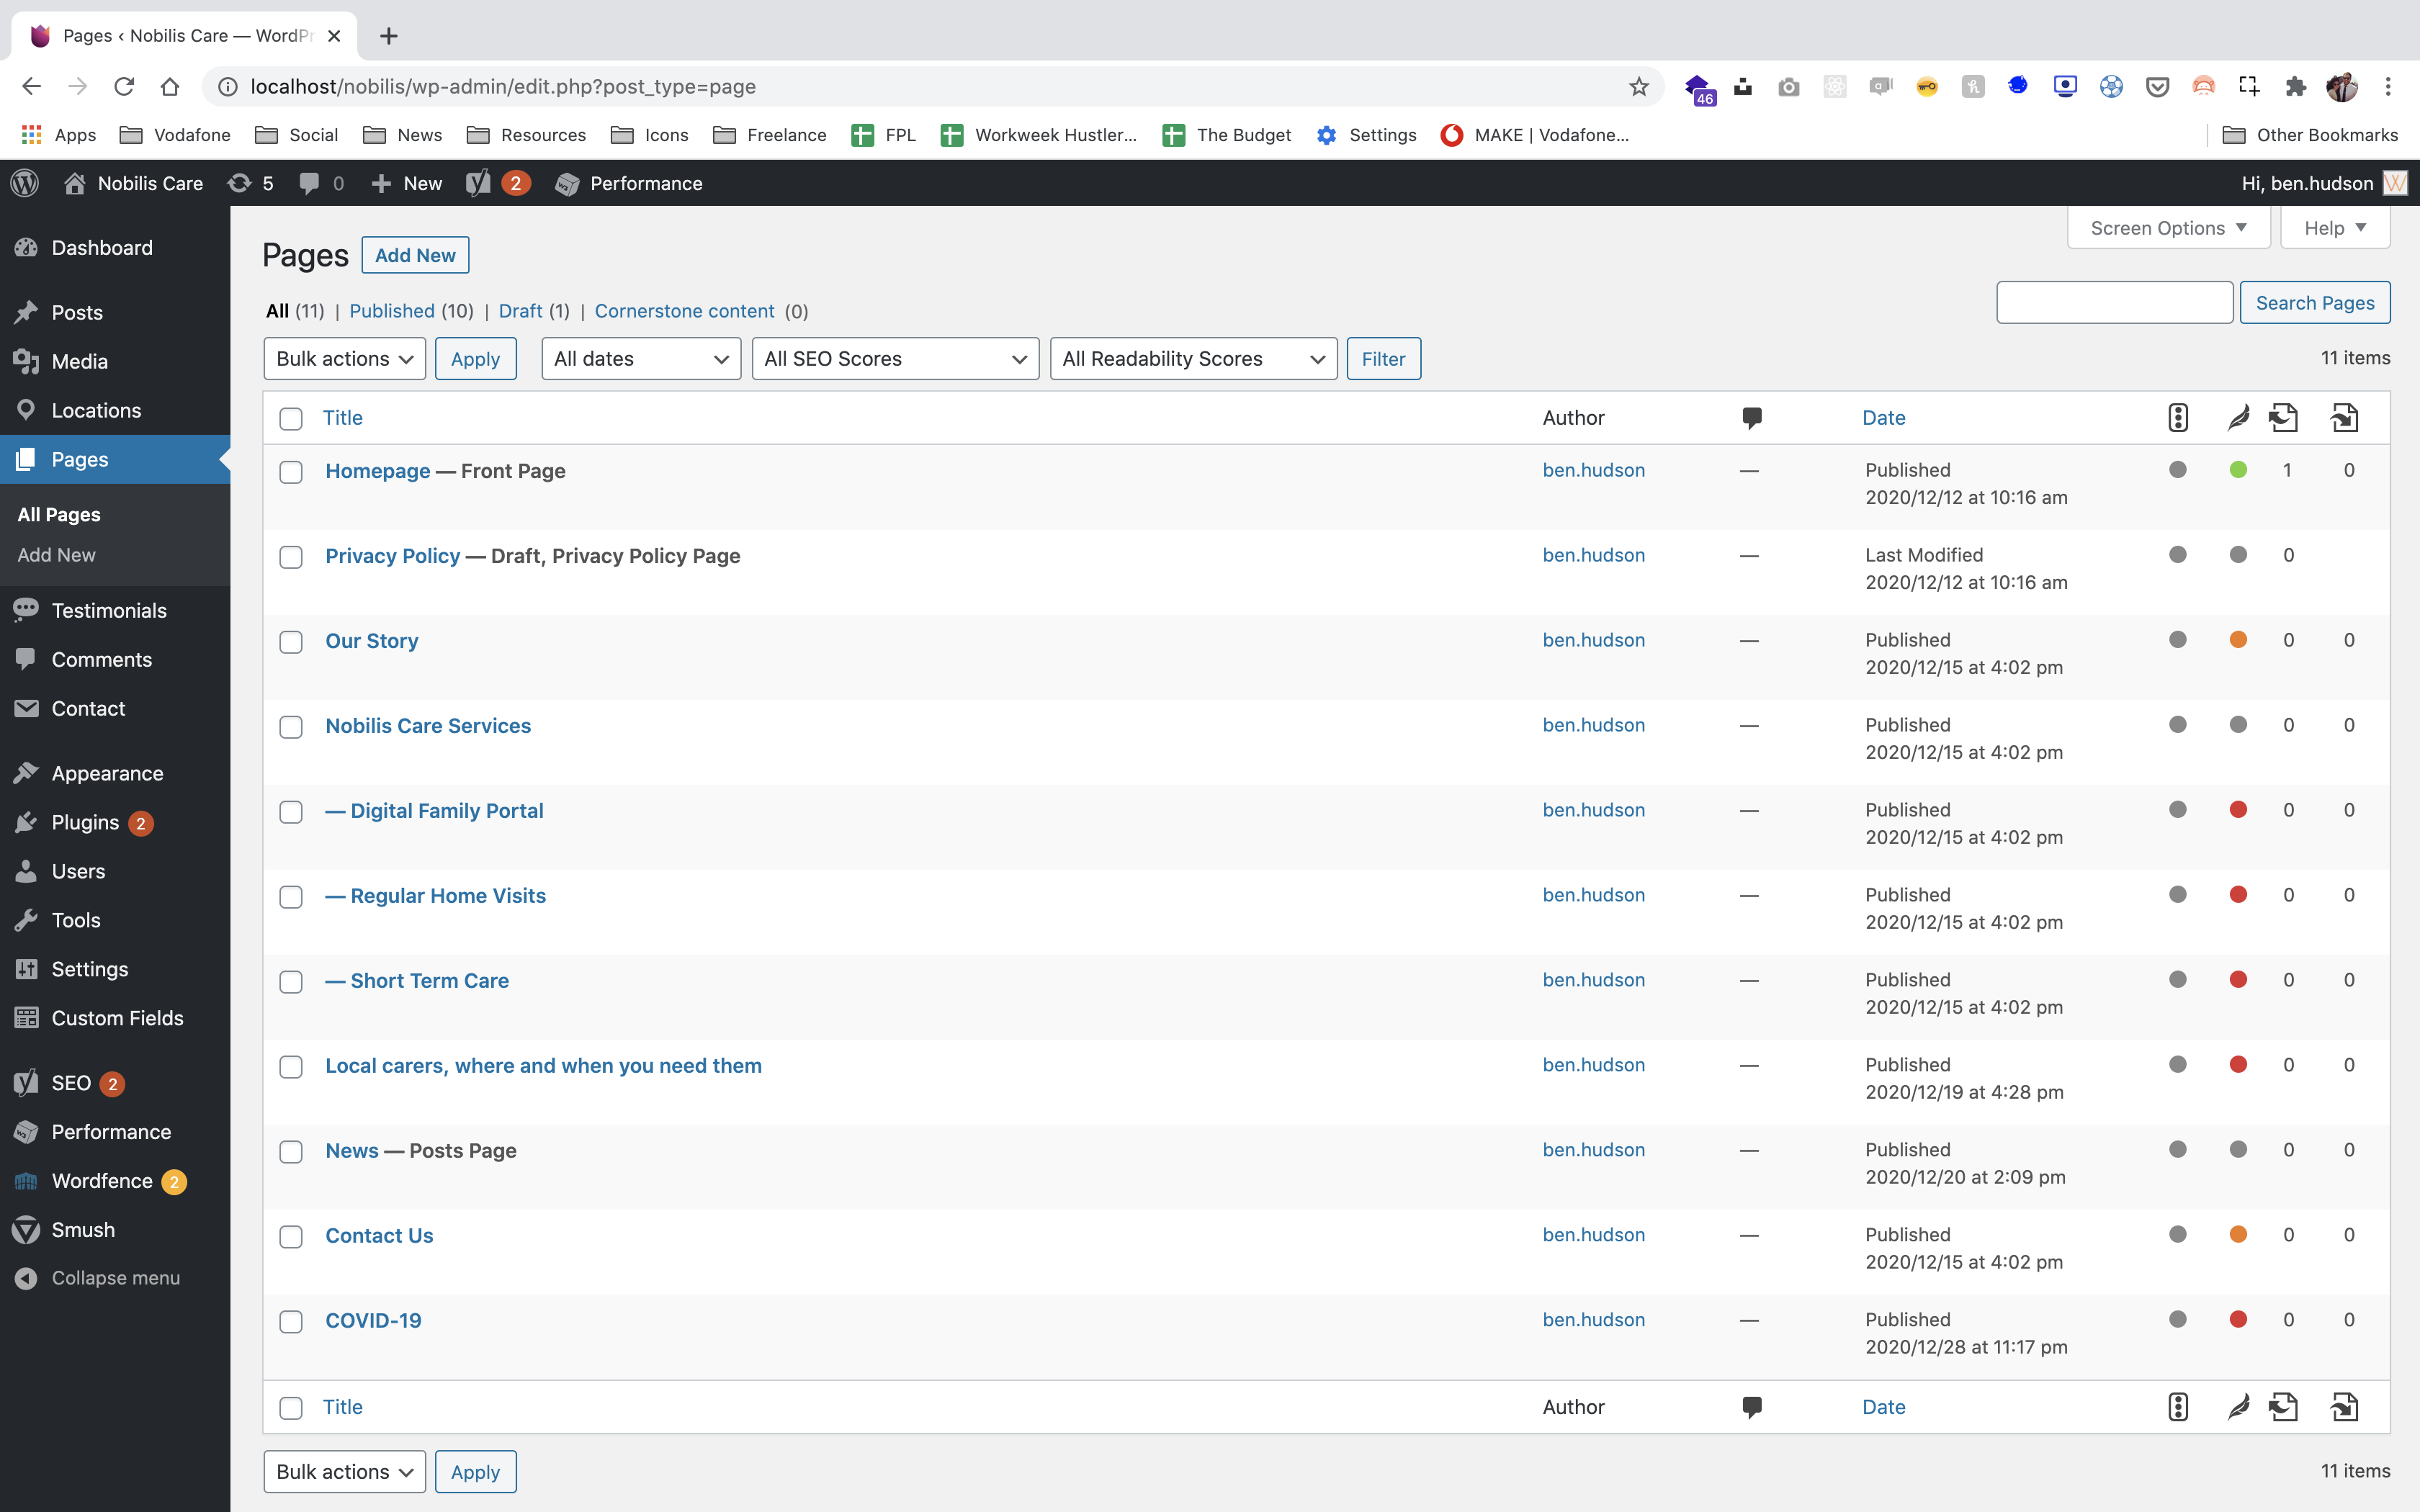
Click ‘Pages’ in the WordPress sidebar.
Click the ‘Add New’ button at the top of the page.
Type the page title into the ‘Title Box’.
To set the Feature Image, click on ‘Set Feature Image’ or click ‘Remove Feature Image’ in the ‘Feature Image’ box.
The content for the page is edited using the ‘Main Content Editor’.
You can edit the URL of the page by clicking ‘Edit’ next to the Permalink.
When the page content has been added you will need to tell the page where you want it to appear on the website. This is easily done by selecting the parent page from the ‘Page Attributes’ menu on the right hand side. Leave the template as ‘Default Template’.
Once all the content has been added and the parent page has been selected, you can either click the ‘Save Draft’ button to continue adding content later or click the ‘Publish’ button to make the page live.
Once the page has been saved as a draft or published you can then rearrange the order of the page for the parent you select. This is done by navigating back to the ‘Pages’ top level, and dragging the page you want to change the order of. You can click and drag the new page you have created and move it above or below an existing page for the same parent page.
Locations are split into two sections – Locations and Areas.
To manage the Locations, head to the Locations menu item in the left hand navigation.
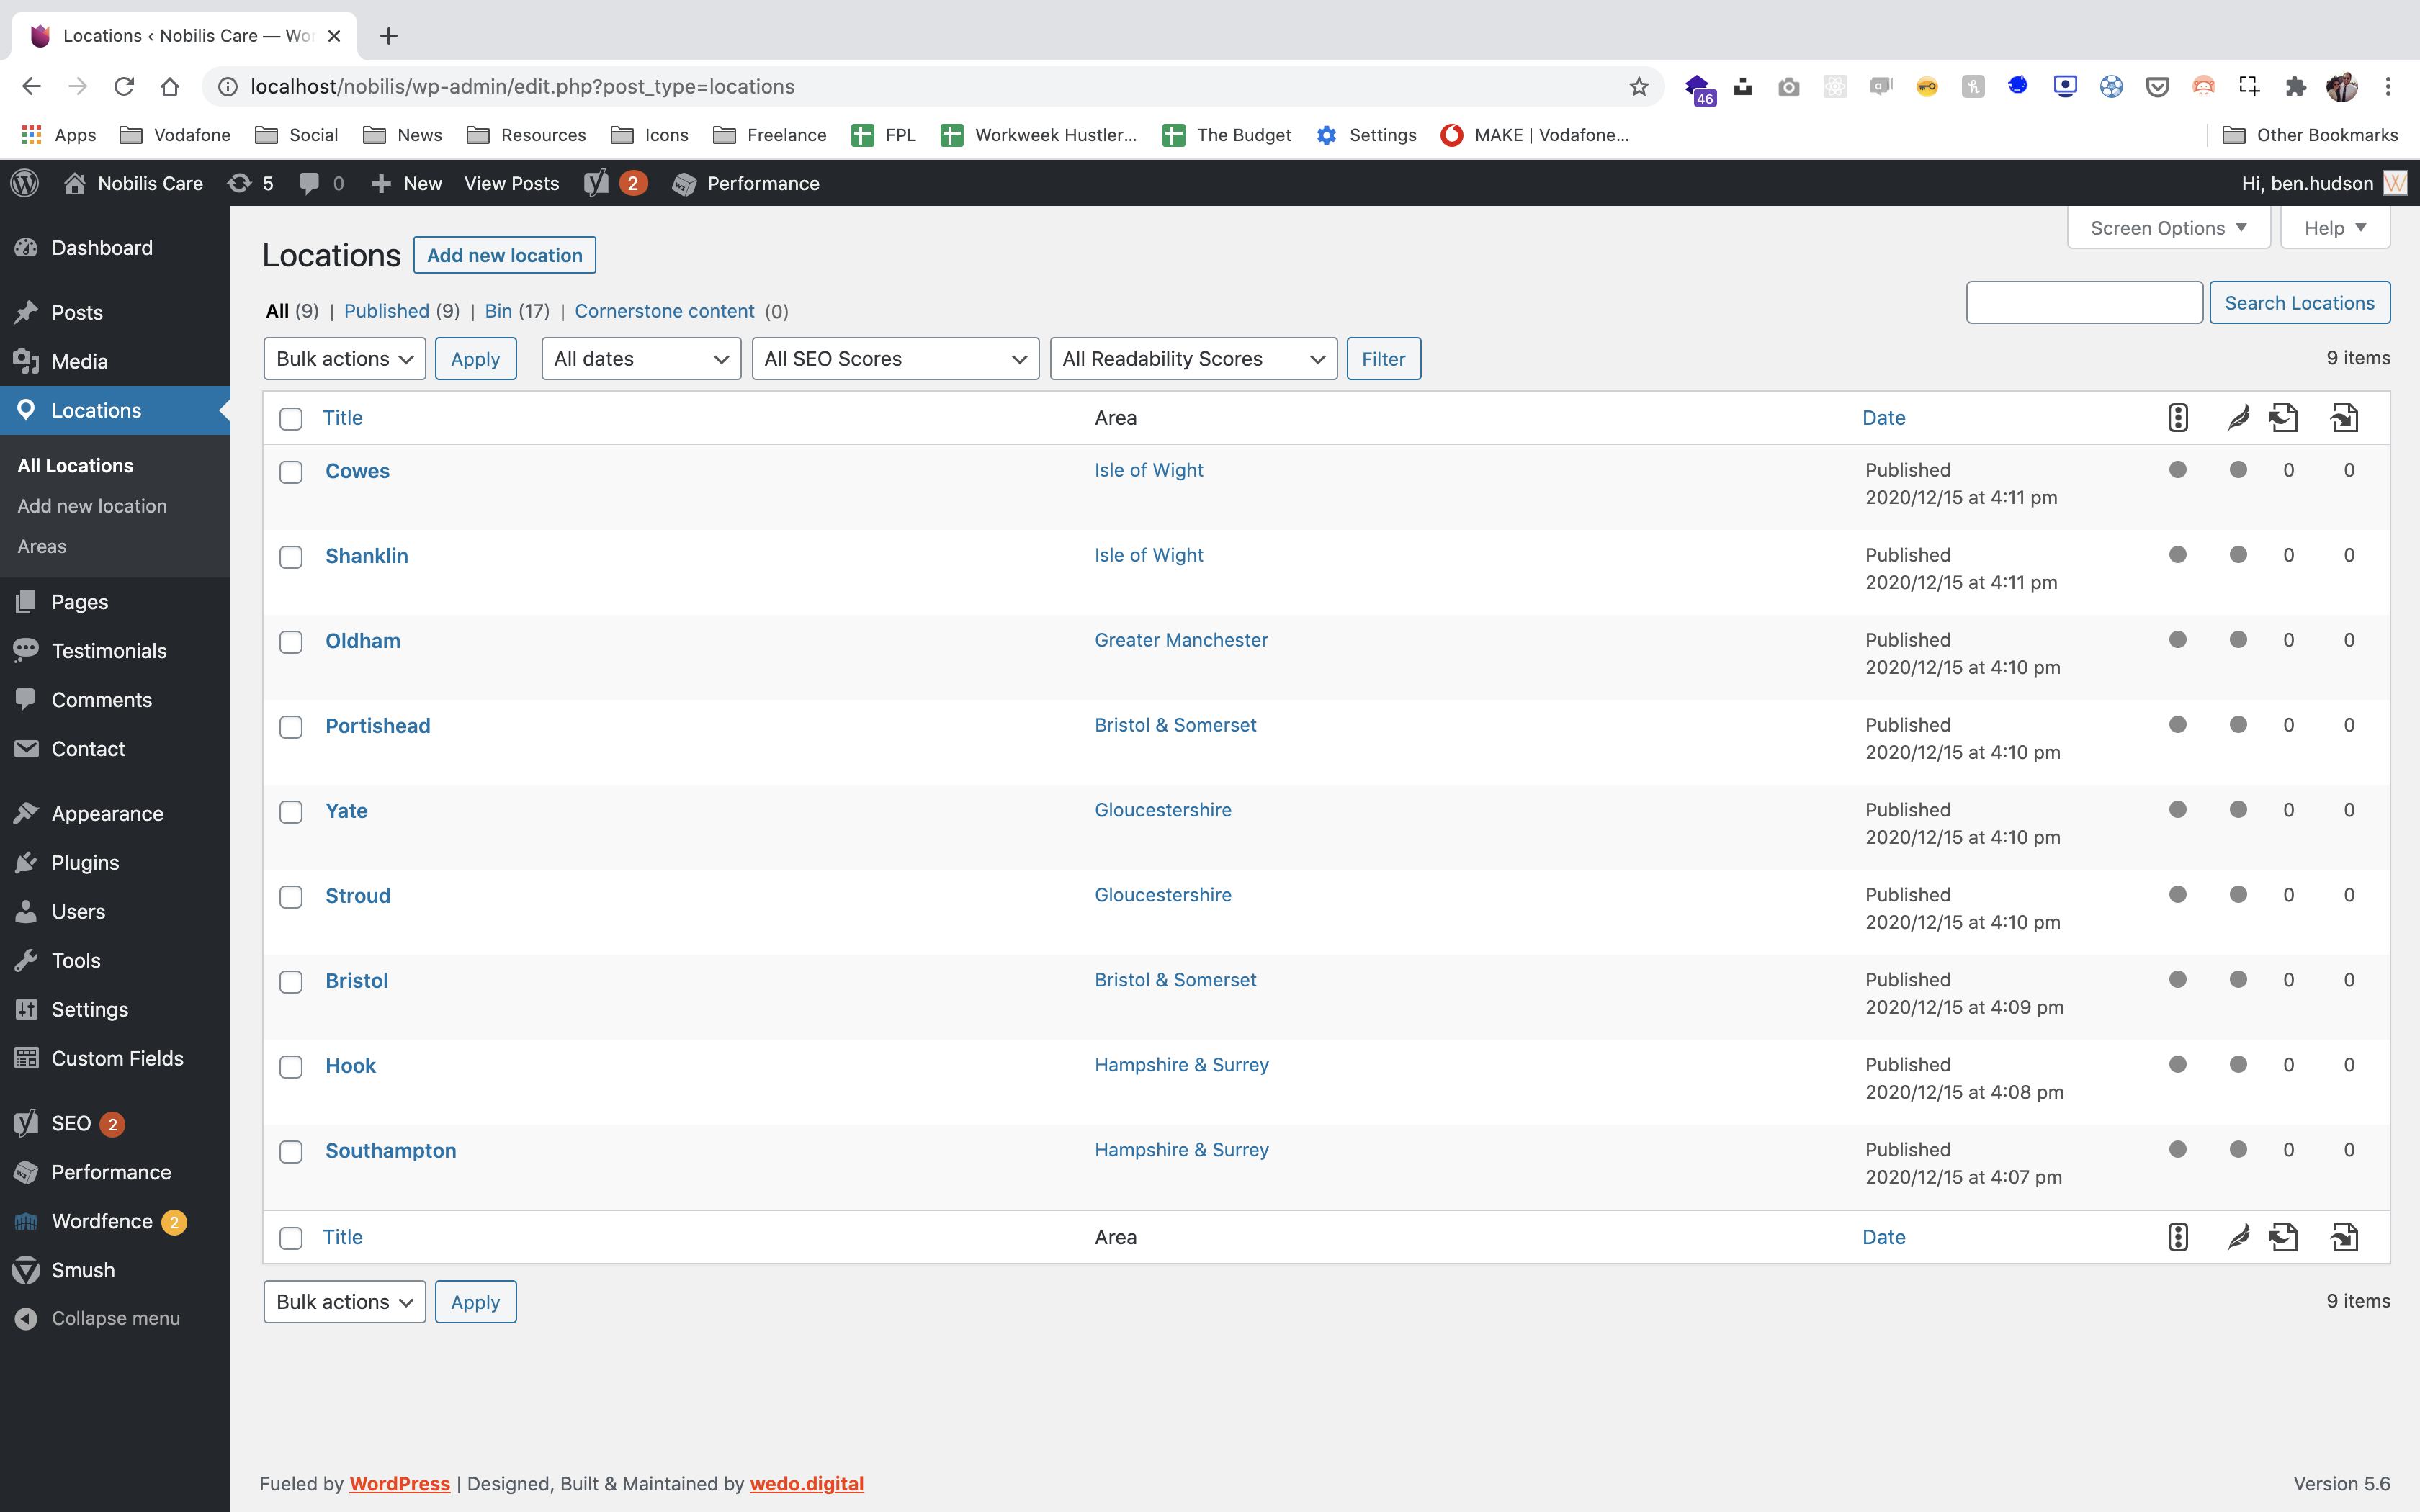
To add a new Location, hit the ‘Add new location’ button at the top of the page.
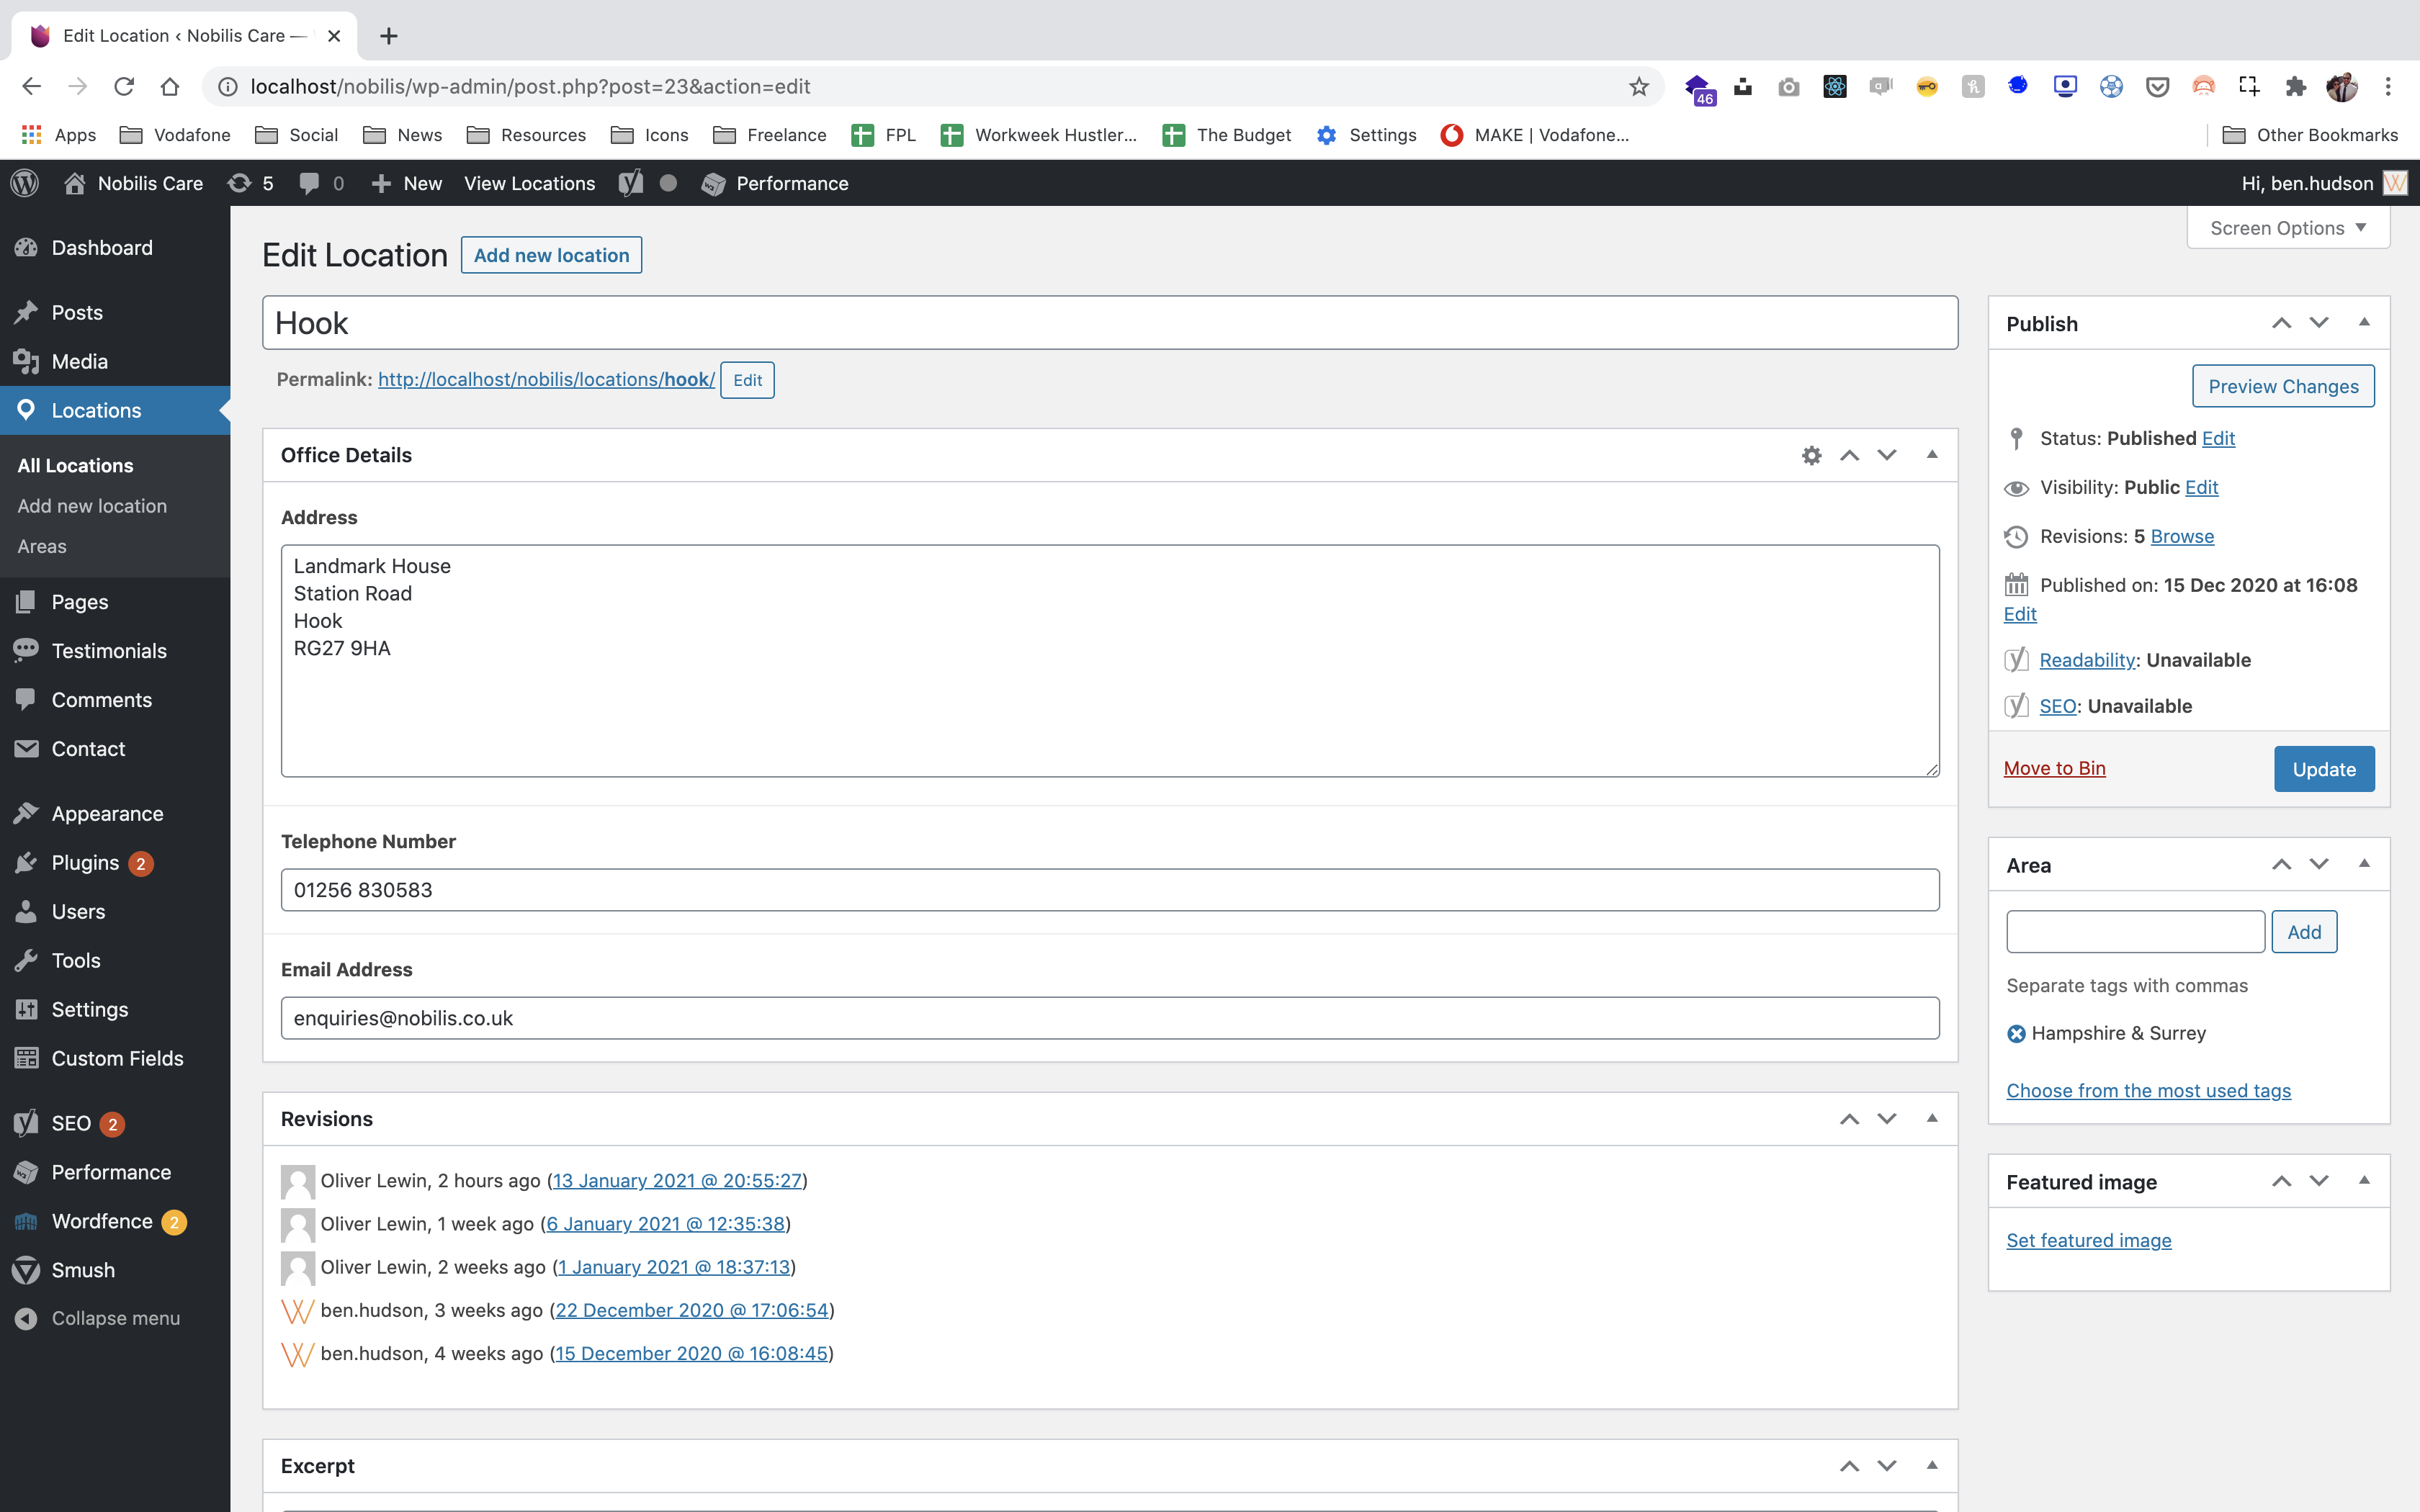
Add the contact details for the office, and then add it to an area using the box on the right hand side. Once it has been added to an area, hit publish to set the Location live.
Areas
To add a new area, head to the ‘Areas’ sub-menu item under the Locations item in the left hand navigation.

Use the form on the left hand side to add a new location – you don’t need to add a slug, as this is auto generated.